This page may contain affiliate links. When you click an affiliate link, we get a small compensation at no cost to you. As an Amazon Associate I earn from qualifying purchases.
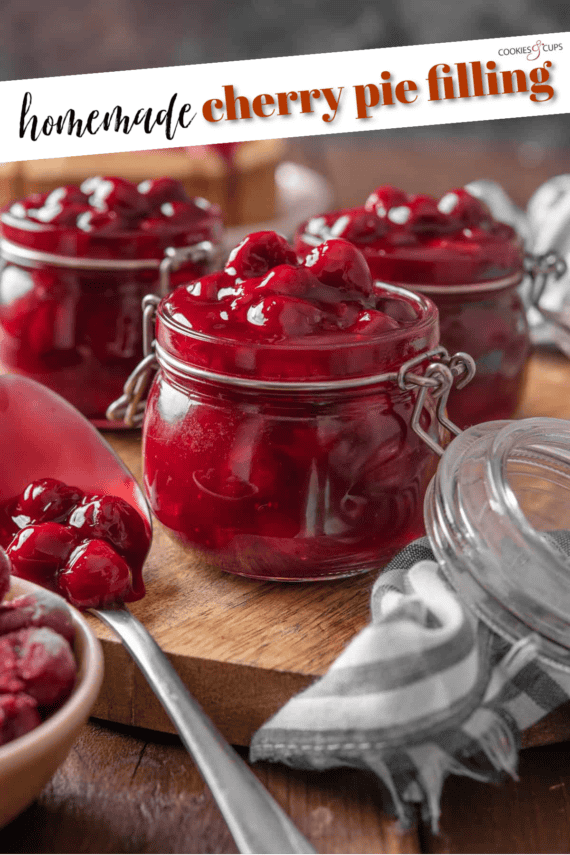
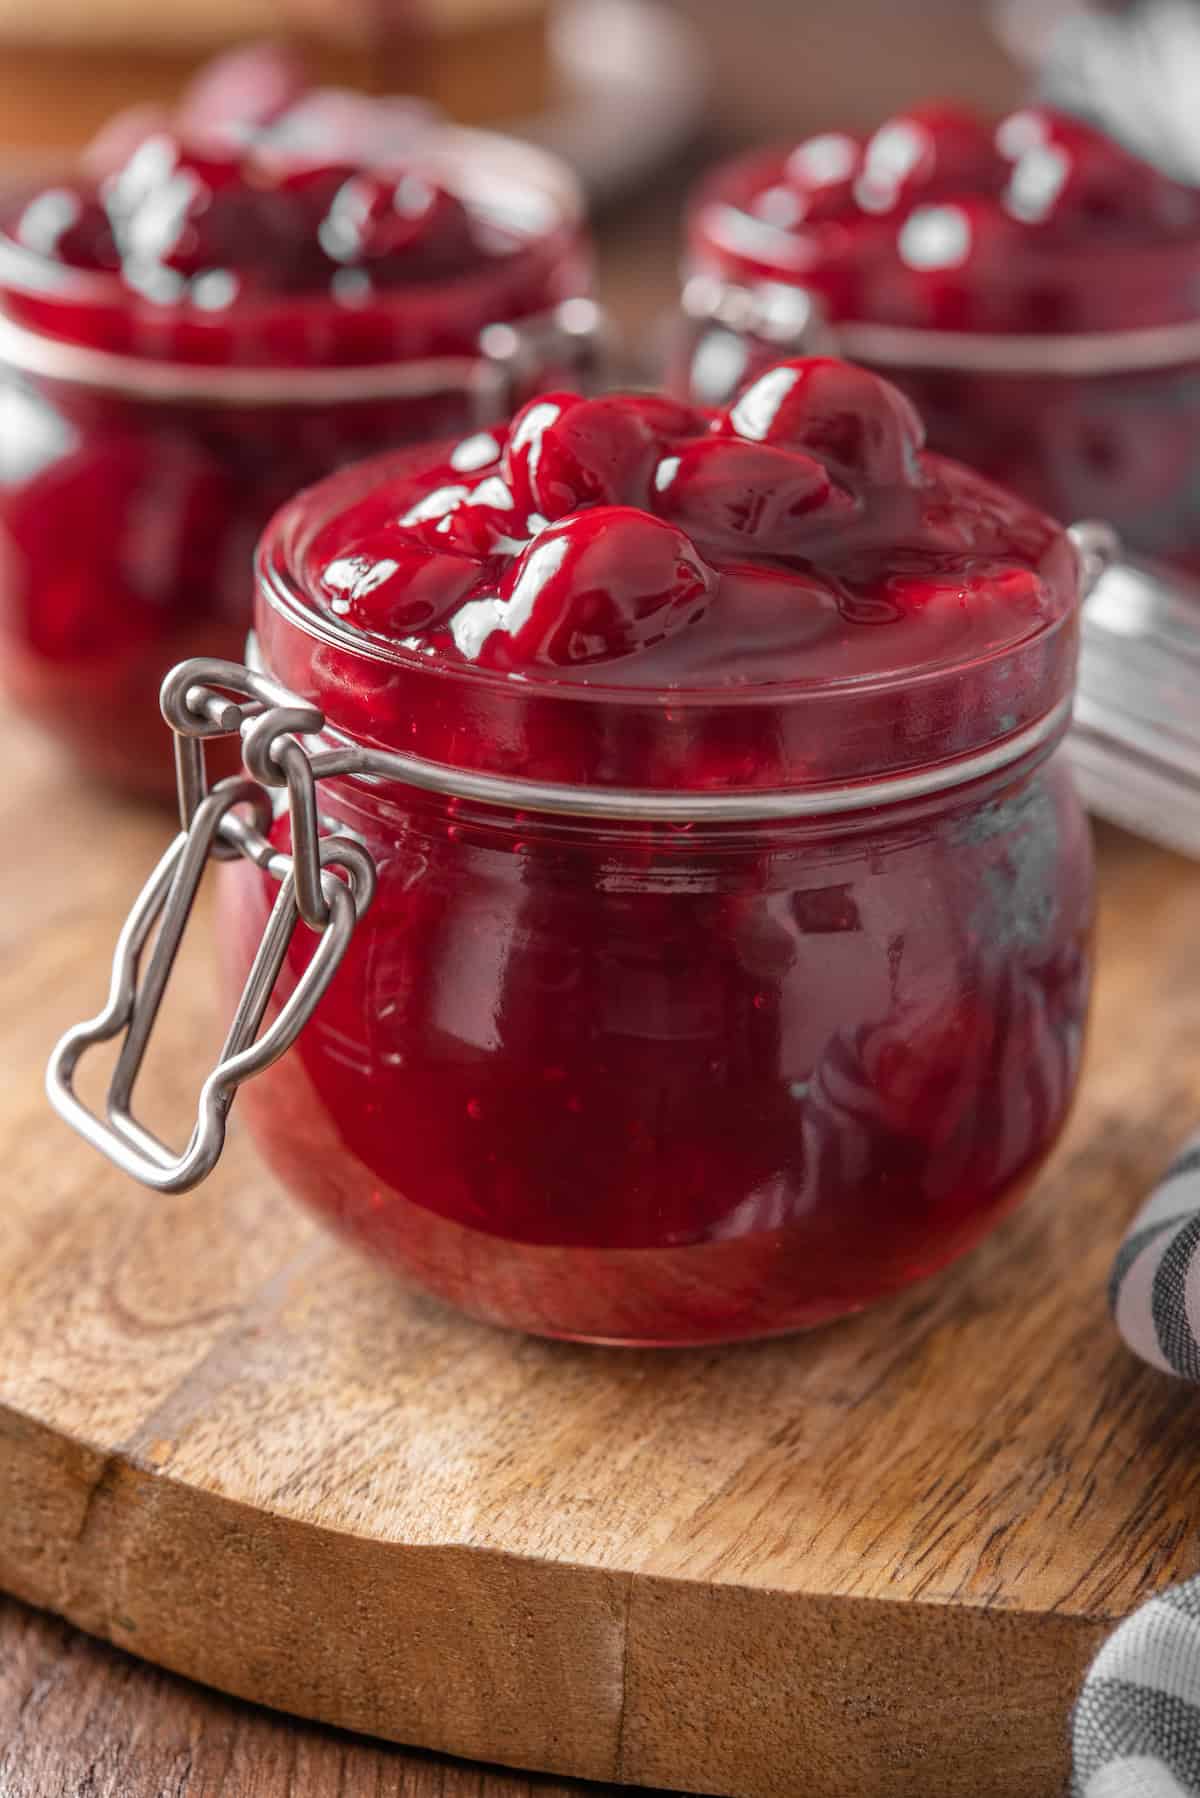
This easy cherry pie filling recipe makes the juiciest homemade filling in 10 minutes on the stovetop! It’s bursting with sweet, ripe cherries and ready to use in your favorite pie recipes. Make it with fresh or frozen cherries.
From pecan pie to apple pie, I love how easy it is to make my favorite pie fillings from scratch!
Why I Love This Cherry Pie Filling Recipe
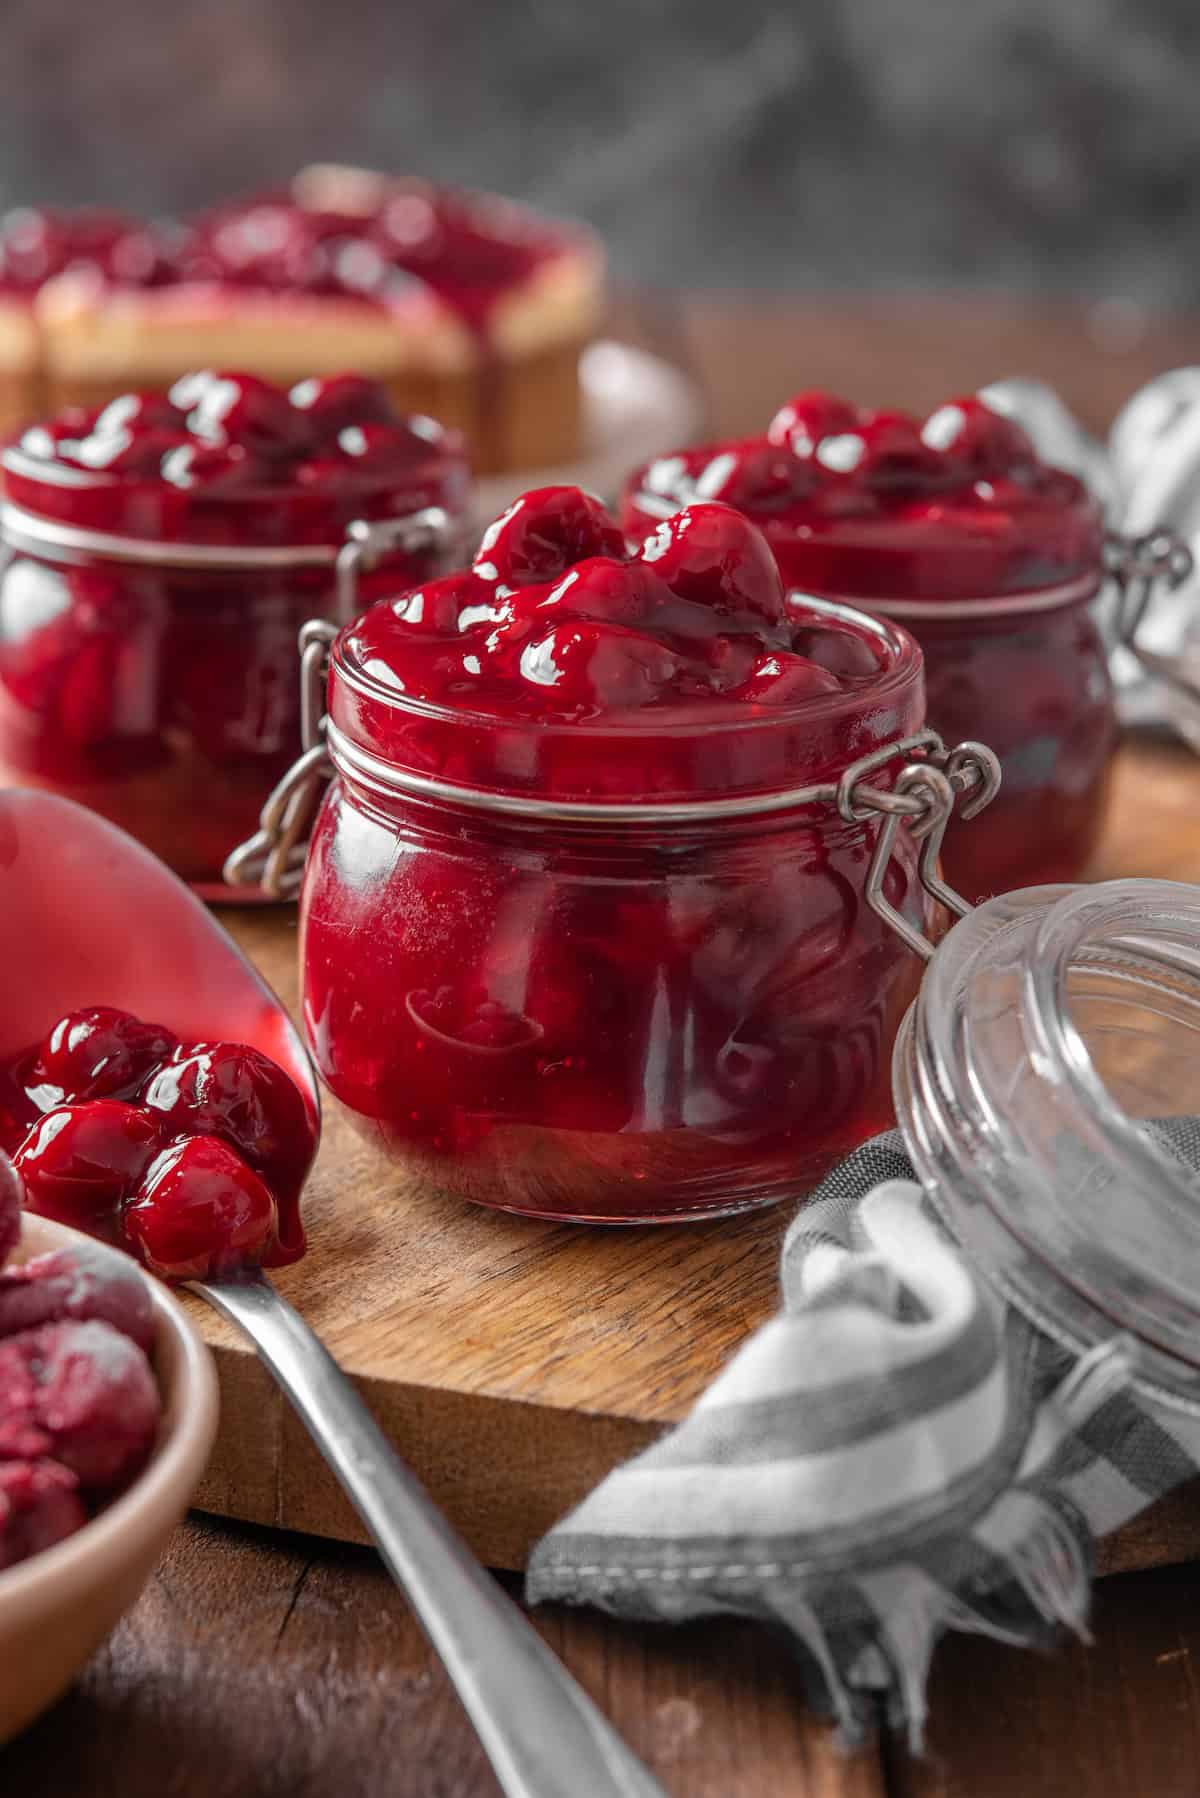
Out of all the pies out there, I think cherry pie might just be my favorite! And a lot of that has to do with this easy homemade cherry pie filling. It’s a simple recipe with a grand total of 5 ingredients, but it makes the juiciest, most mouthwatering pie filling bursting with ripe cherries. Here’s why I love it:
- It takes 10 minutes. This recipe makes thick, juicy cherry pie filling that reduces on the stovetop in minutes. It’s THAT quick and easy.
- Flavor-packed. After much testing, I think I’ve nailed the sweet-tart balance in this cherry pie filling. There’s just enough sugar to sweeten it up and a squeeze of fresh lemon juice to brighten the flavors. I could eat it by the spoonful!
- Fresh or frozen. This filling turns out great whether I make it with fresh in-season cherries or a bag of frozen cherries. This way, I can enjoy delicious cherry filling for pie year-round!

Ingredients You’ll Need
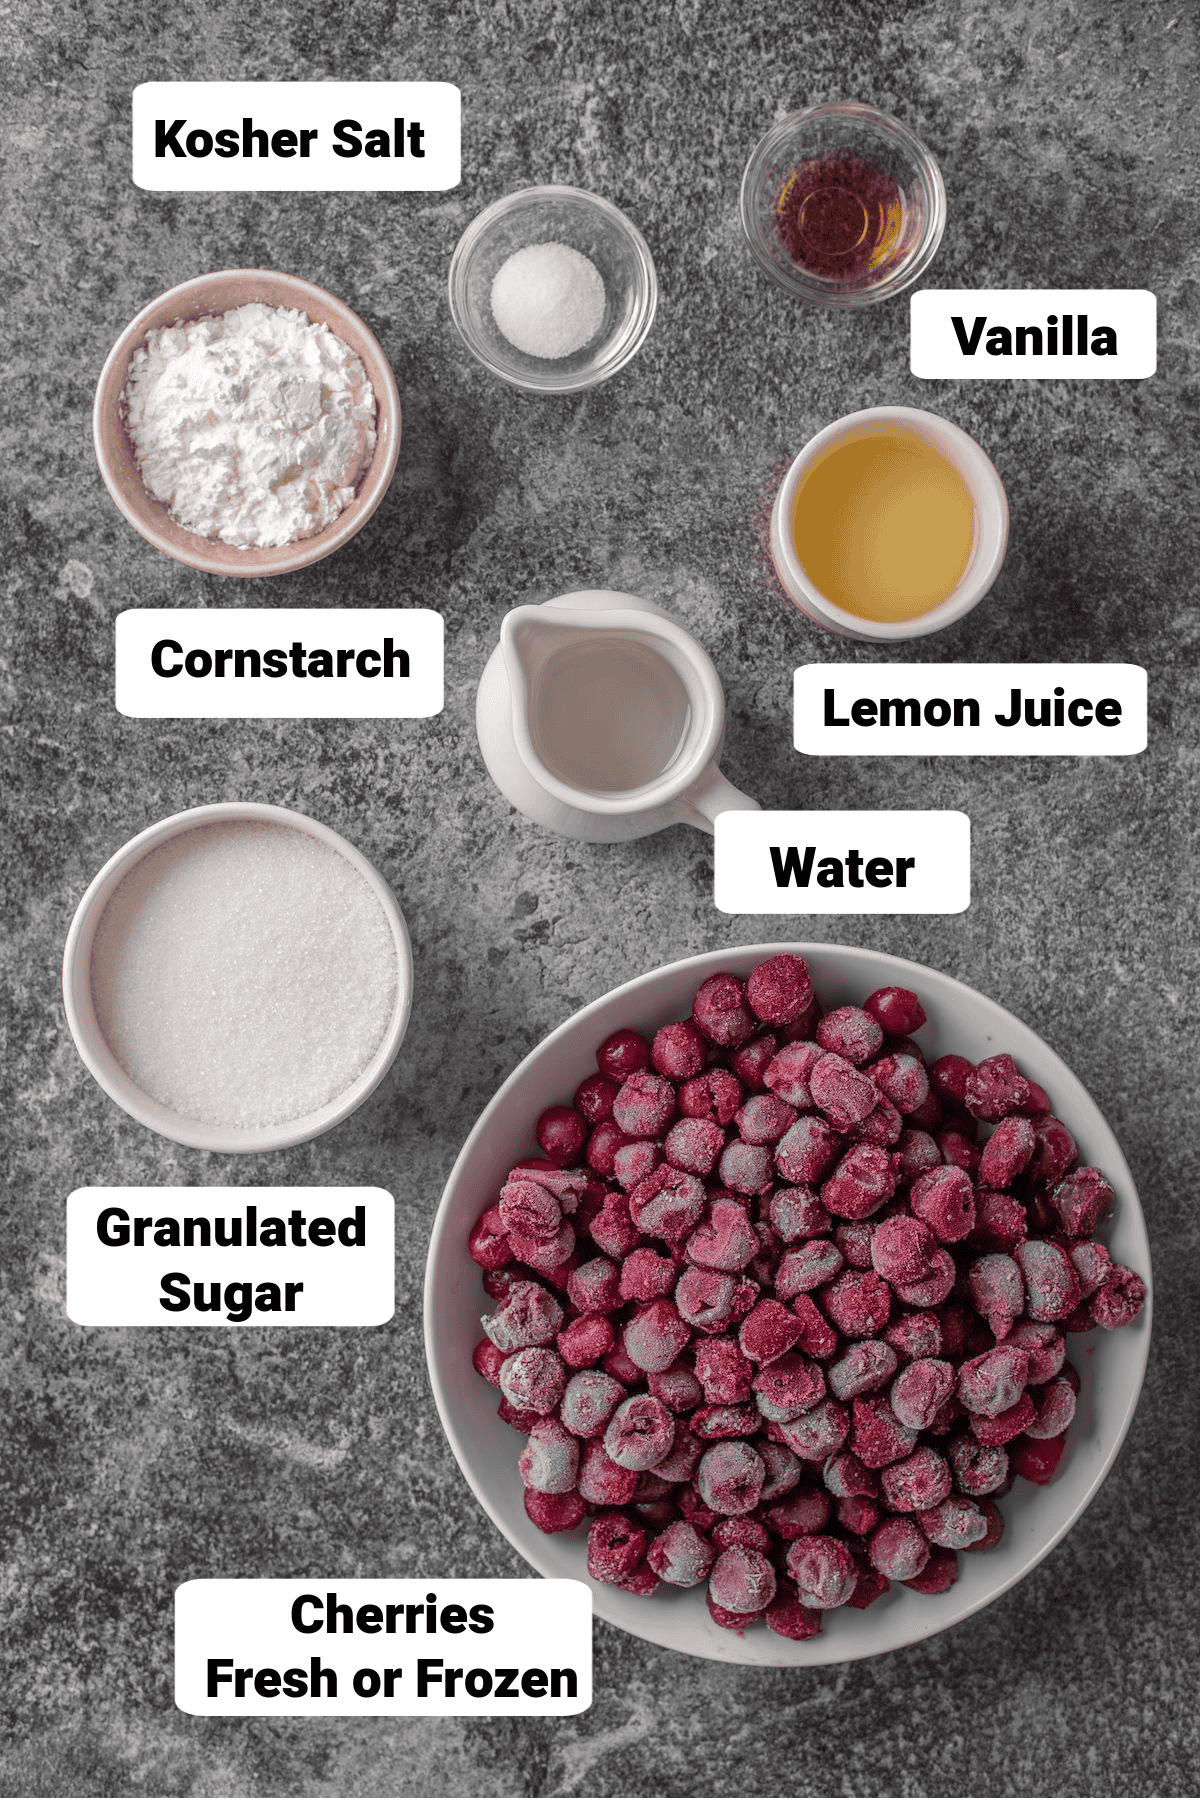
You can make this cherry pie filling recipe with fresh or frozen cherries (see below for details), and just a few pantry staples. I’ve included some quick notes here, and be sure to scroll to the printable recipe card after the post for a complete list and recipe amounts.
- Cherries – You can use sweet or tart, fresh or frozen. If you’re using frozen cherries, be sure to thaw and drain them first.
- Lemon Juice – Freshly squeezed is best.
- Sugar – You can use granulated sugar or brown sugar. I also add a pinch of salt to balance out the sweetness.
- Cornstarch – Cornstarch helps thicken the pie filling. You can replace the cornstarch with double the amount of flour if preferred.
- Vanilla – I recommend real vanilla extract over imitation.
The Best Cherries for Cherry Pie Filling
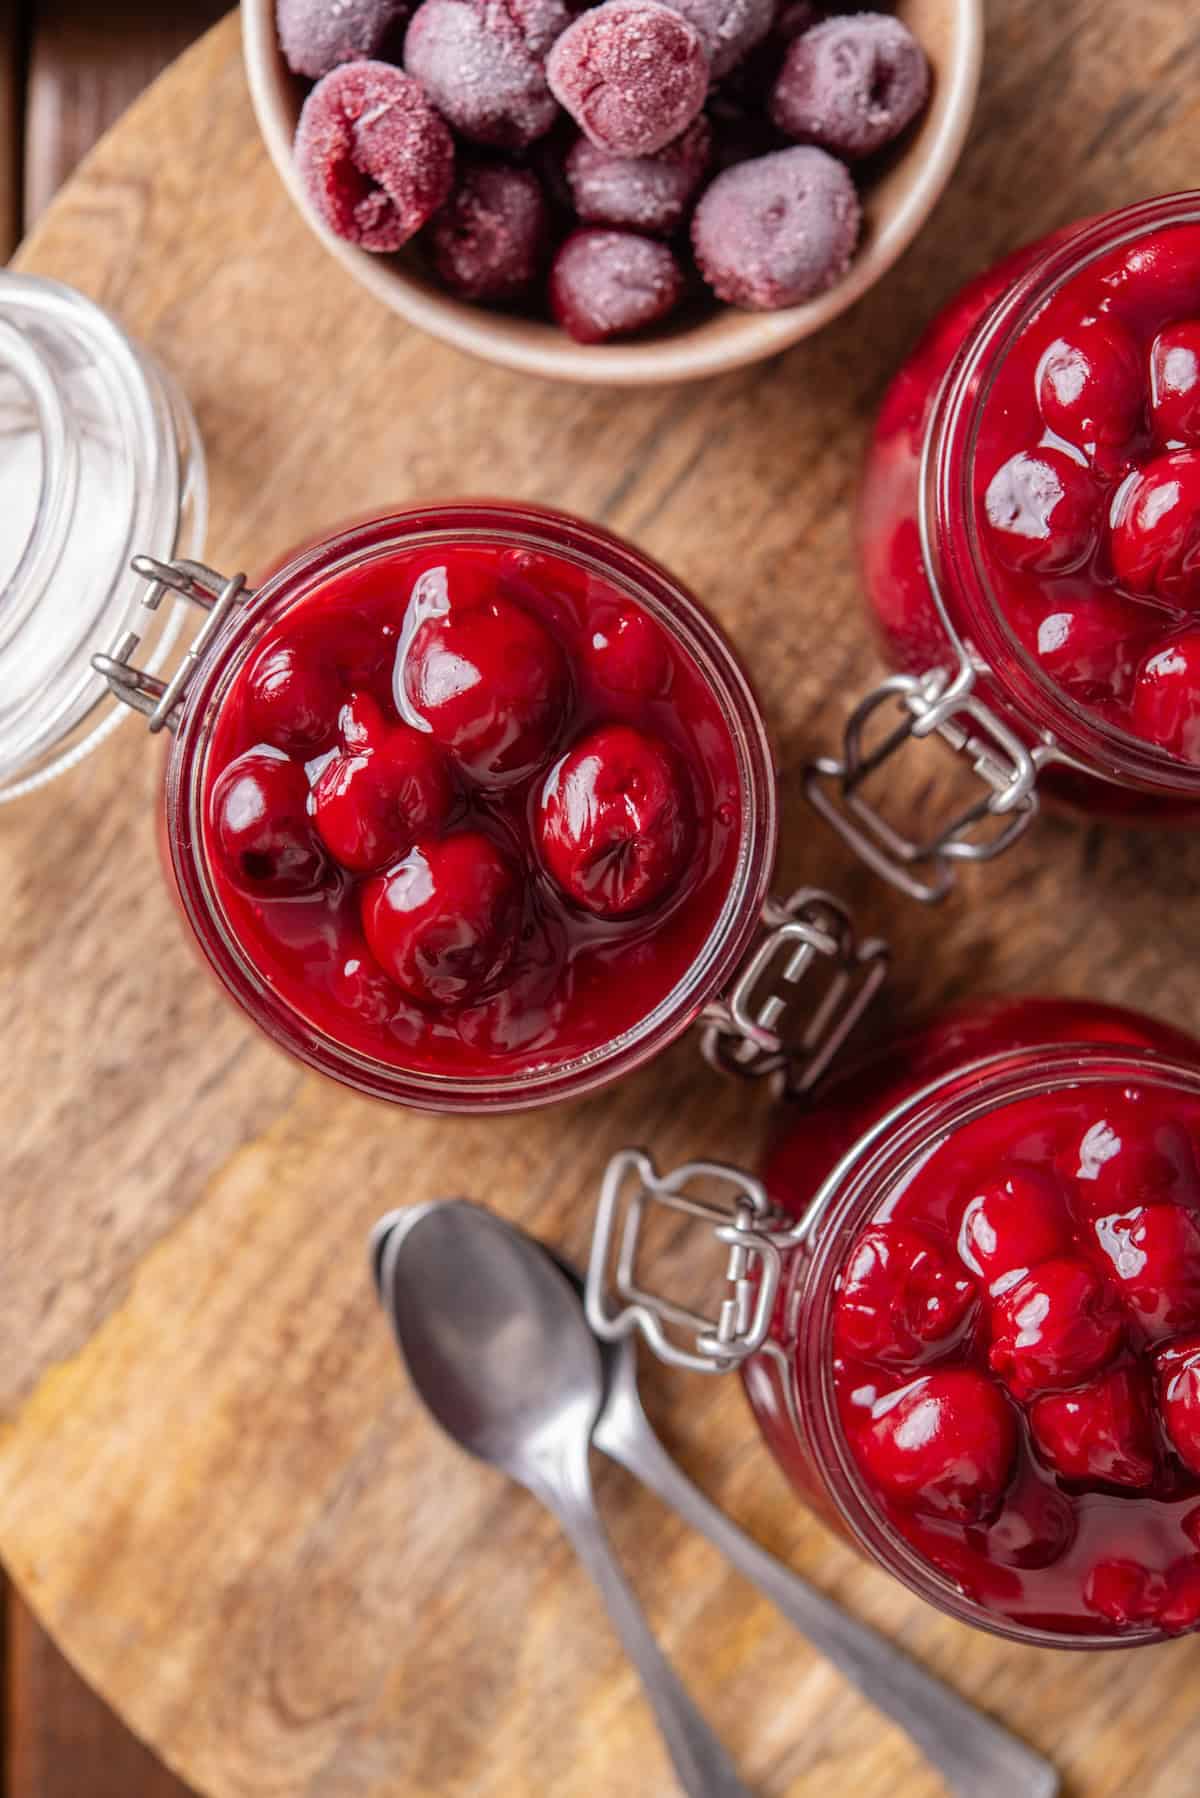
I usually make this pie filling with fresh cherries when they’re in season. You can also use frozen cherries as pictured. Either sweet dark cherries or tart cherries (or a mix of both) will work in this recipe, though you may find that you need to add a bit more sugar to offset tart or sour cherries.
When using whole fresh cherries, you’ll need to pit them first. This can be a bit tedious to do by hand, so I invested in a cherry pitter a long time ago, and never looked back! It saves loads of prep time. If you don’t have a cherry pitter, though, don’t worry. You can use the blunt end of a chopstick to push the pit out instead or press the cherry down on a small piping tip. The pit pops right out.
How to Make Cherry Pie Filling
This recipe makes enough filling to fill a 9-inch pie crust. To make it, all you need to do is add the ingredients to a pan, and simmer so that they reduce. It takes less than 10 minutes on the stove following the steps below. Scroll down to the recipe card for the printable instructions.
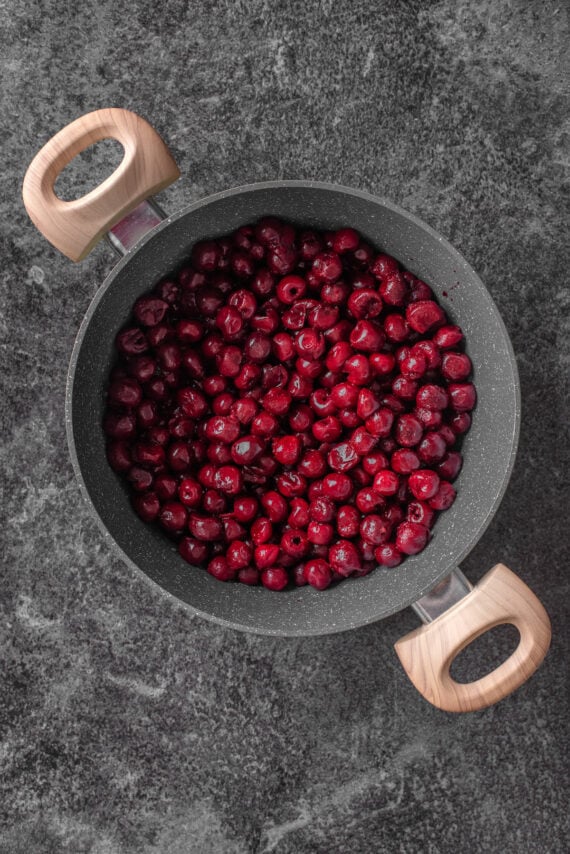

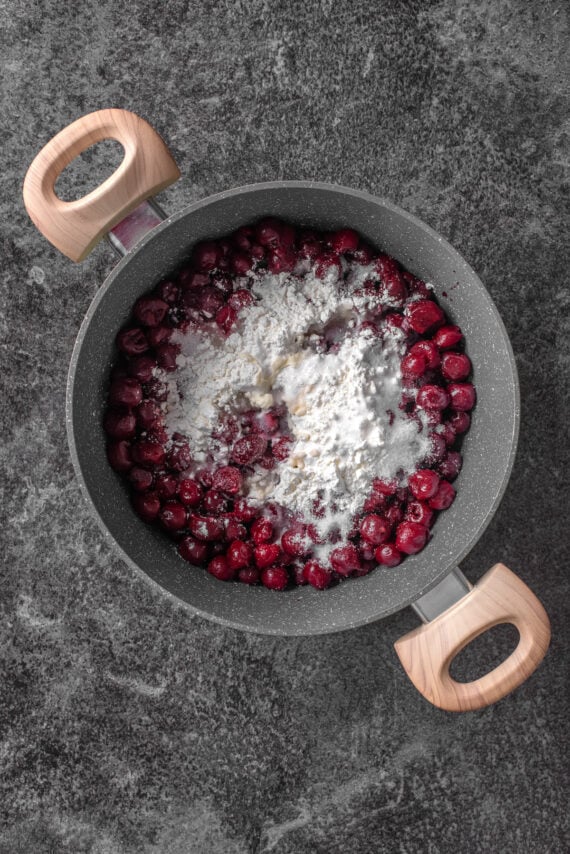

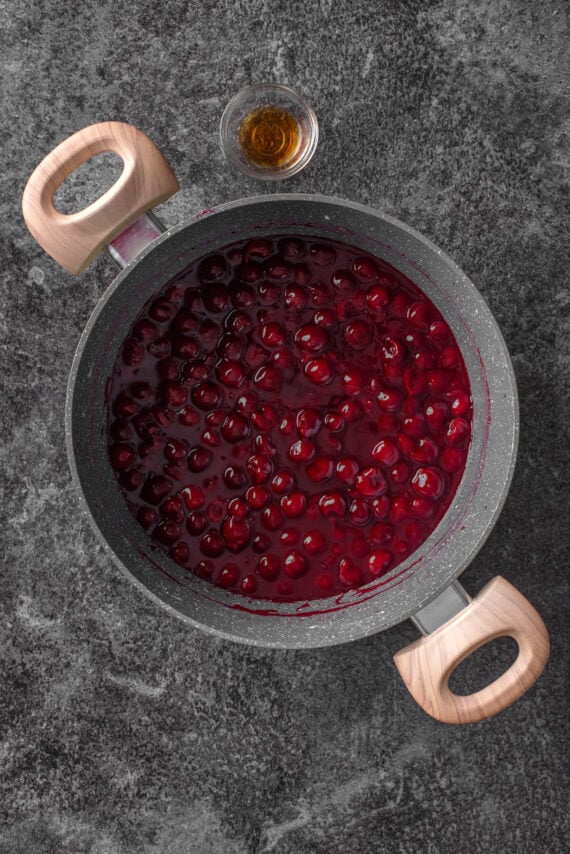

- Combine the ingredients. Add your cherries to a saucepan with water, lemon juice, sugar, salt, and cornstarch. Bring the pot to boil.
- Cook. Lower the heat and simmer the cherries for 10 minutes, stirring as they thicken.
- Cool. Lastly, stir in the vanilla and cool the filling before storing.

Tips and Variations
- Don’t boil the sugar for long. When the cherry pie filling comes to a boil, immediately lower the heat and keep it at a low simmer. Cooking the filling for too long causes the sugars to crystallize, and the pie filling will turn out too thick.
- For a sweeter pie filling, increase the sugar up to ¾ cup. You might want to do this if your cherries are more tart.
- Add spices. You can make a spice cherry pie filling by simmering a cinnamon stick alongside the other other ingredients. Just pluck it out after the filling cools. You could also add a sprinkle of ground cinnamon when you add the vanilla.

Ways to Use Homemade Cherry Pie Filling
I use this pie filling in more than just my favorite cherry pie! There are loads of desserts with cherry pie filling that you can try, from my cobblestone cake to this cherry pretzel dessert. It also makes a delicious topping for pancakes and waffles, or you can spoon it over a bowl of ice cream drizzled with fudge sauce for a sundae.

How to Store
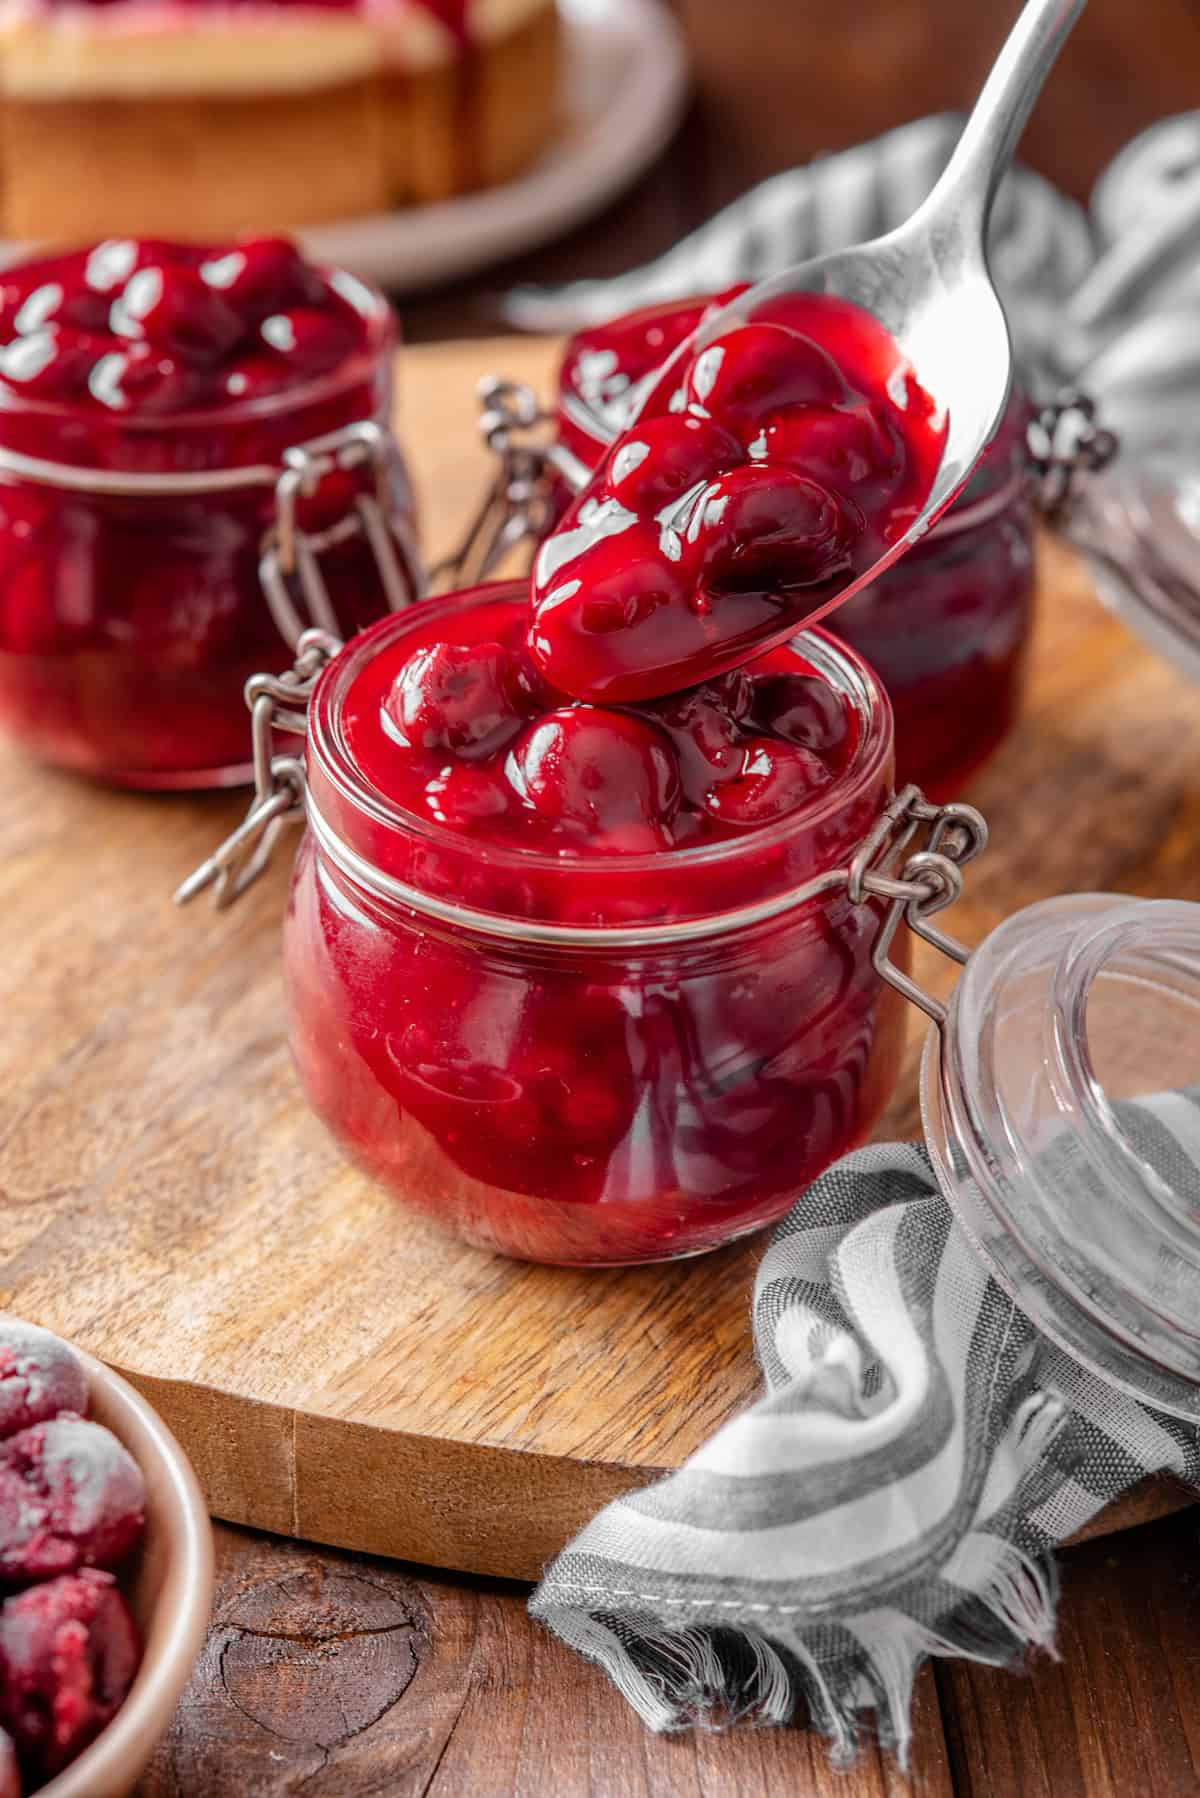
- Refrigerate. After the pie filling has cooled, transfer it to airtight jars or containers to store for up to 5 days in the fridge.
- Freeze. You can also freeze cherry pie filling for up to 2 months. Make sure to store it in a freezer-safe container. Thaw the filling in the fridge before you use it.
Description
This cherry pie filling recipe makes the juiciest homemade filling bursting with sweet, fresh cherries. Make it in 10 minutes on the stovetop!
- 6 cups fresh or frozen pitted cherries (about 2 1/2 to 3 pounds)
- 1/2 cup water
- 2 tablespoons fresh lemon juice
- 2/3 cup granulated sugar
- 1/4 teaspoon kosher salt
- 1/4 cup cornstarch
- 1/2 teaspoon vanilla extract
- In a saucepan over medium heat, combine cherries, water, lemon juice, sugar, salt, and cornstarch.
- Bring to a boil over medium-high heat. Reduce the heat to low and cook, stirring frequently, for 8 – 10 minutes, until the mixture becomes thick. The filling is done when it is thick and becomes a deep red color.
- Stir in the vanilla extract immediately and cool before covering and storing.
Notes
- Store airtight in the refrigerator for up to 5 days.
- Makes about 4 cups of cherry filling, enough for a 9-inch cherry pie.


