This page may contain affiliate links. When you click an affiliate link, we get a small compensation at no cost to you. As an Amazon Associate I earn from qualifying purchases.
Summary
- For the most part, the Microsoft Windows operating system runs smoothly out of the box.
- However, background processes, junk files, and other clutter can lead to performance slowdown over time.
- Without ever installing a third-party cleaner app, there are on-the-spot steps you can take to bolster PC performance.
It’s a well-known fact of PC life that, over time, Microsoft Windows tends to bog down. No matter how many high-end hardware components you cram into your gaming rig’s tower, or how state-of-the-art your Copilot+ PC’s chip might be at launch, there’s a good chance that your system will experience slowdown after several months or years of use.
As weeks turn into months, and months turn into years, your Windows PC performance might degrade for a variety of reasons. Putting aside physical considerations (like dust accumulation, blocked vents and fans, overheating, and more), the OS itself tends to accumulate background processes and junk data, all while having ever-less storage space to work with as you download files and rely on installed programs.
With Windows 11, things are better than they used to be in years past: in many ways, the operating system takes matters into its own hands to optimize performance and to balance various under-the-hood processes. Even still, there are several options available to further dial-in and boost both speed and efficiency, and I just about always rely on them when my own PC starts to show signs of slowdown.
Here are five tricks in particular that I employ on a regular basis to keep my Windows 11 PC as speedy on day five hundred as it is on day one.
Related
5 tricks I use to make Windows 11 modern and consistent
I use these apps, settings, and tweaks to make my Windows 11 PC feel more cohesive from a user interface perspective.
1
Reign in the startup apps situation
Let your PC boot up without all the added baggage
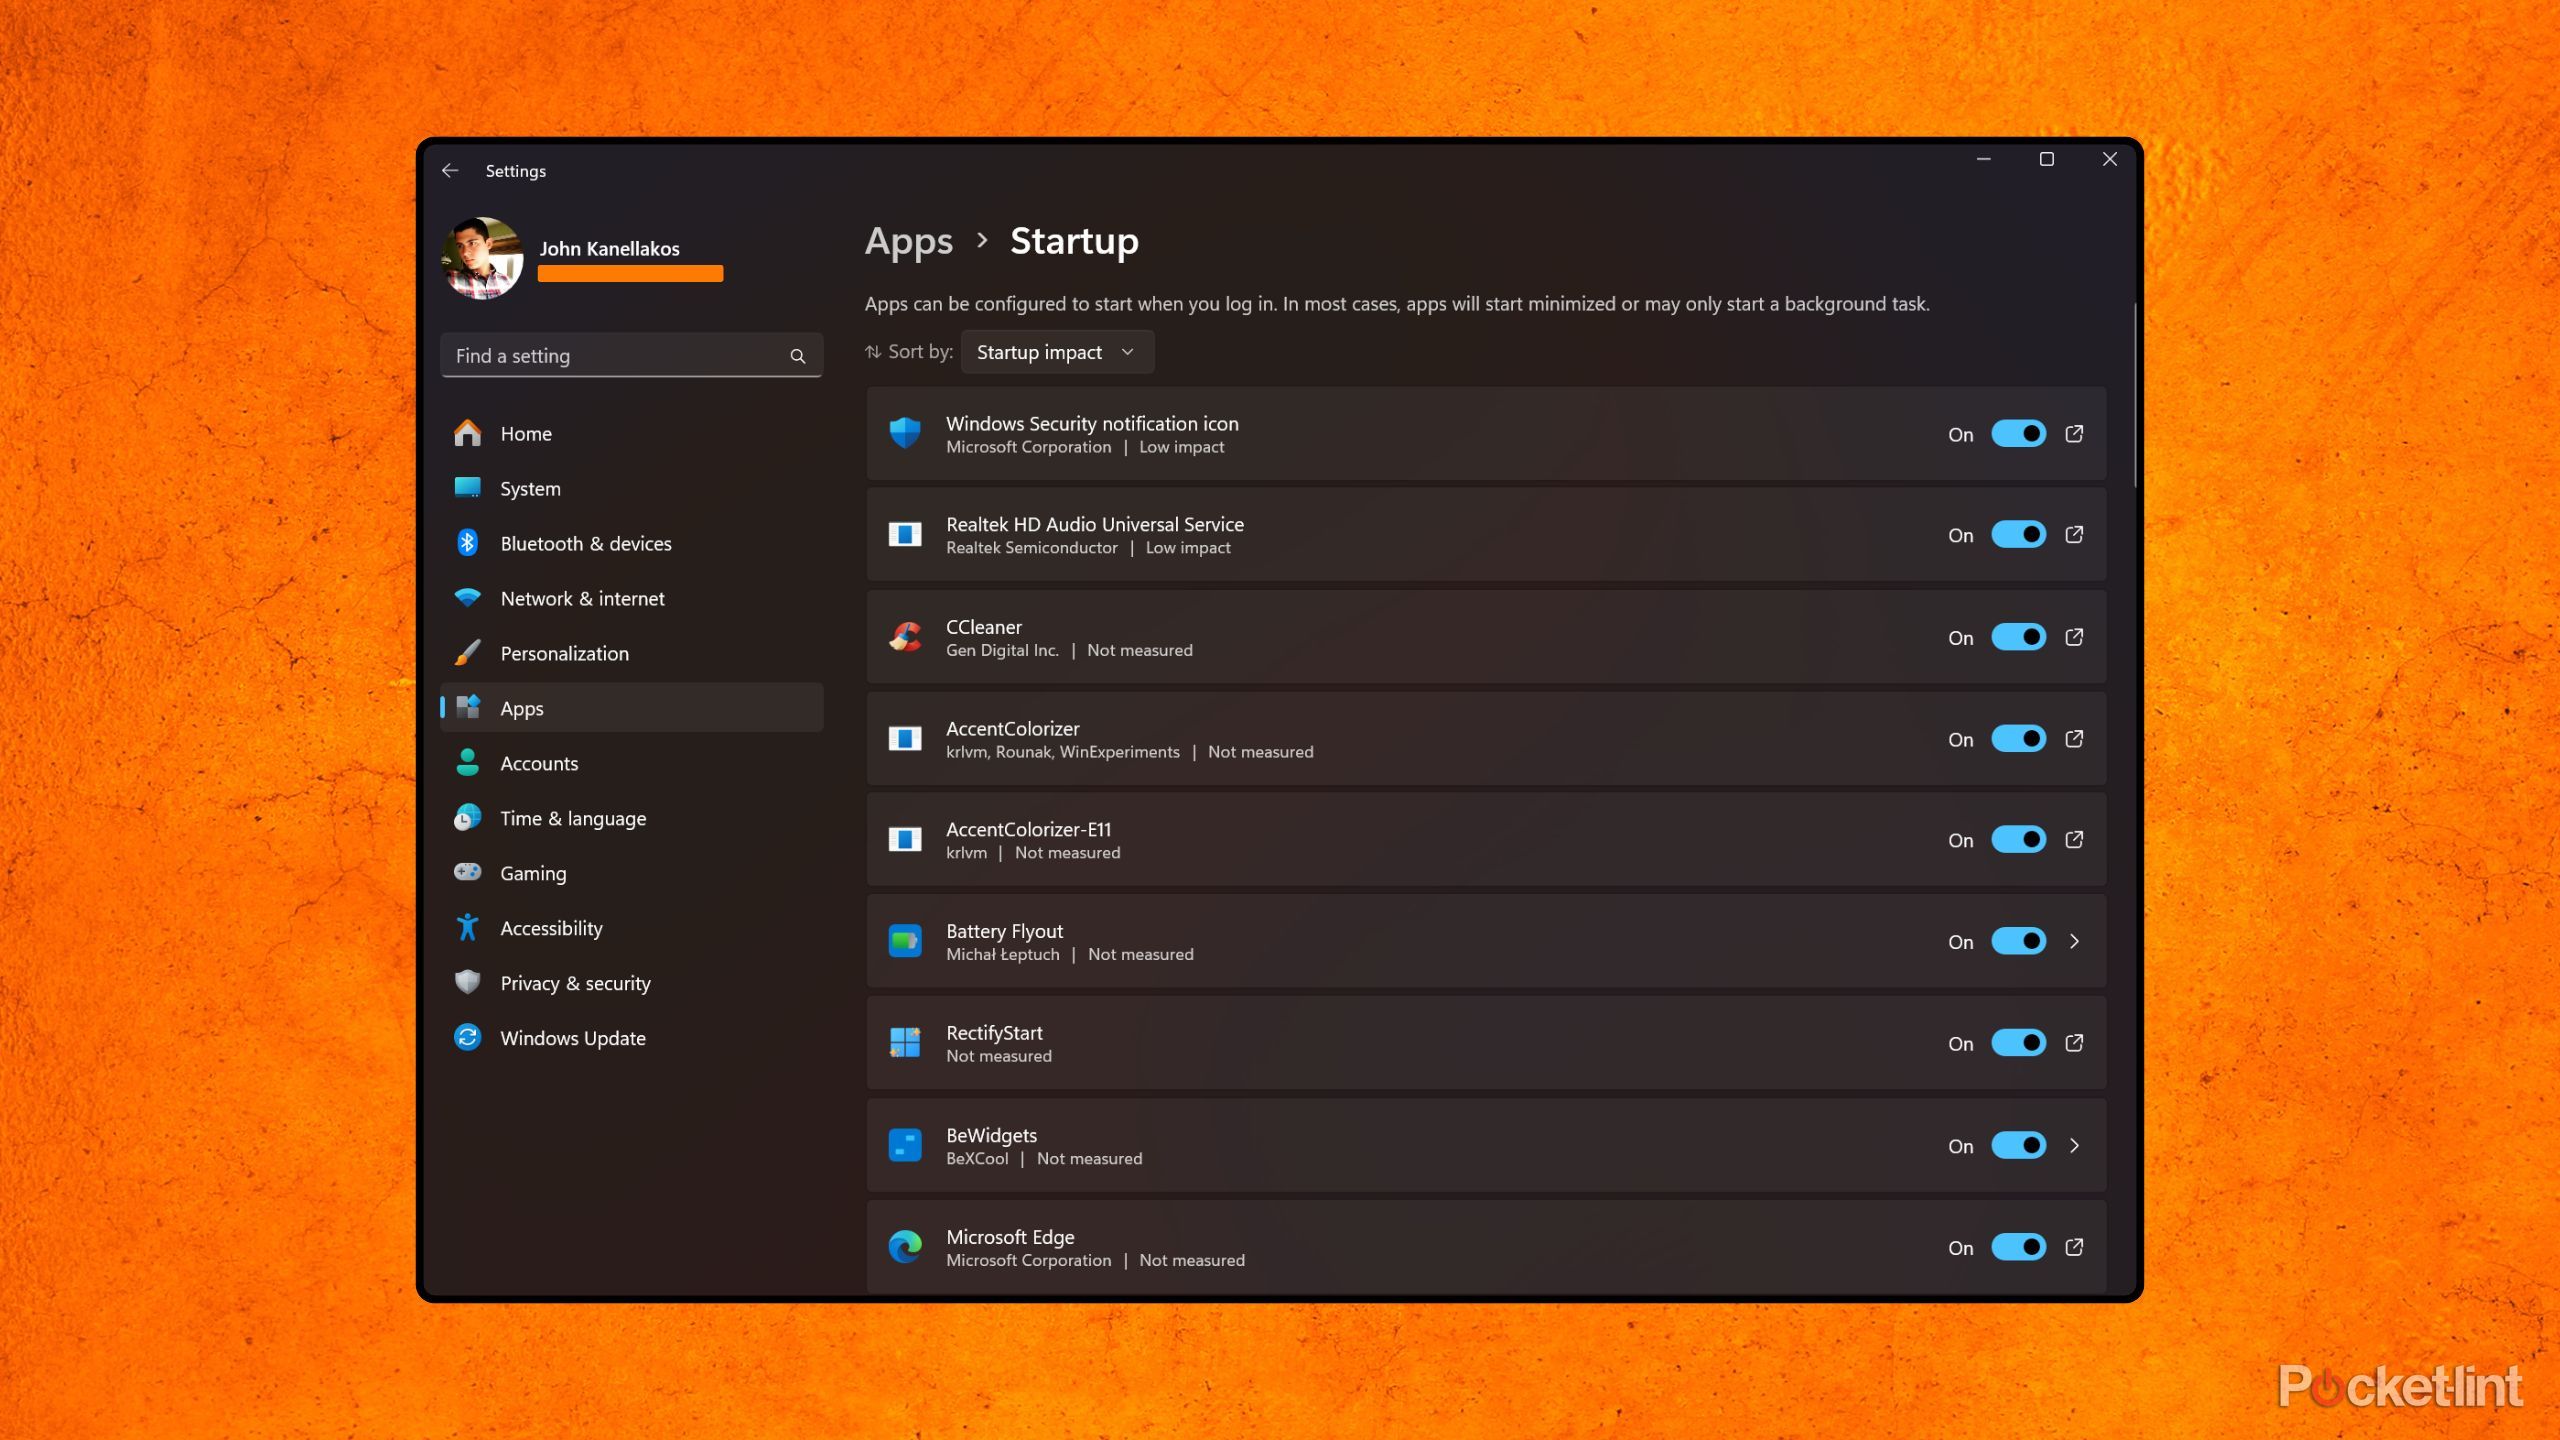
Startup apps are programs that have been given permission to run the moment you turn on or restart your PC, without having to go through and launch each of them manually. Many legacy Win32 programs will assert themselves within the startup list on their own, while apps built with newer frameworks rely on a more comprehensive permission system based on user-consent.
In any case, as you download and install apps onto your Windows 11 computer, the number of entries in your startup list will likely creep upward over time. Startup apps and their related processes can be useful if you rely on specific software that you want to always have running, but it can also lead to performance woes if left unchecked. I’d recommend navigating to Settings > Apps > Startup and toggling off all startup apps, aside from the ones you consciously want to have running the moment you boot up your PC.
Related
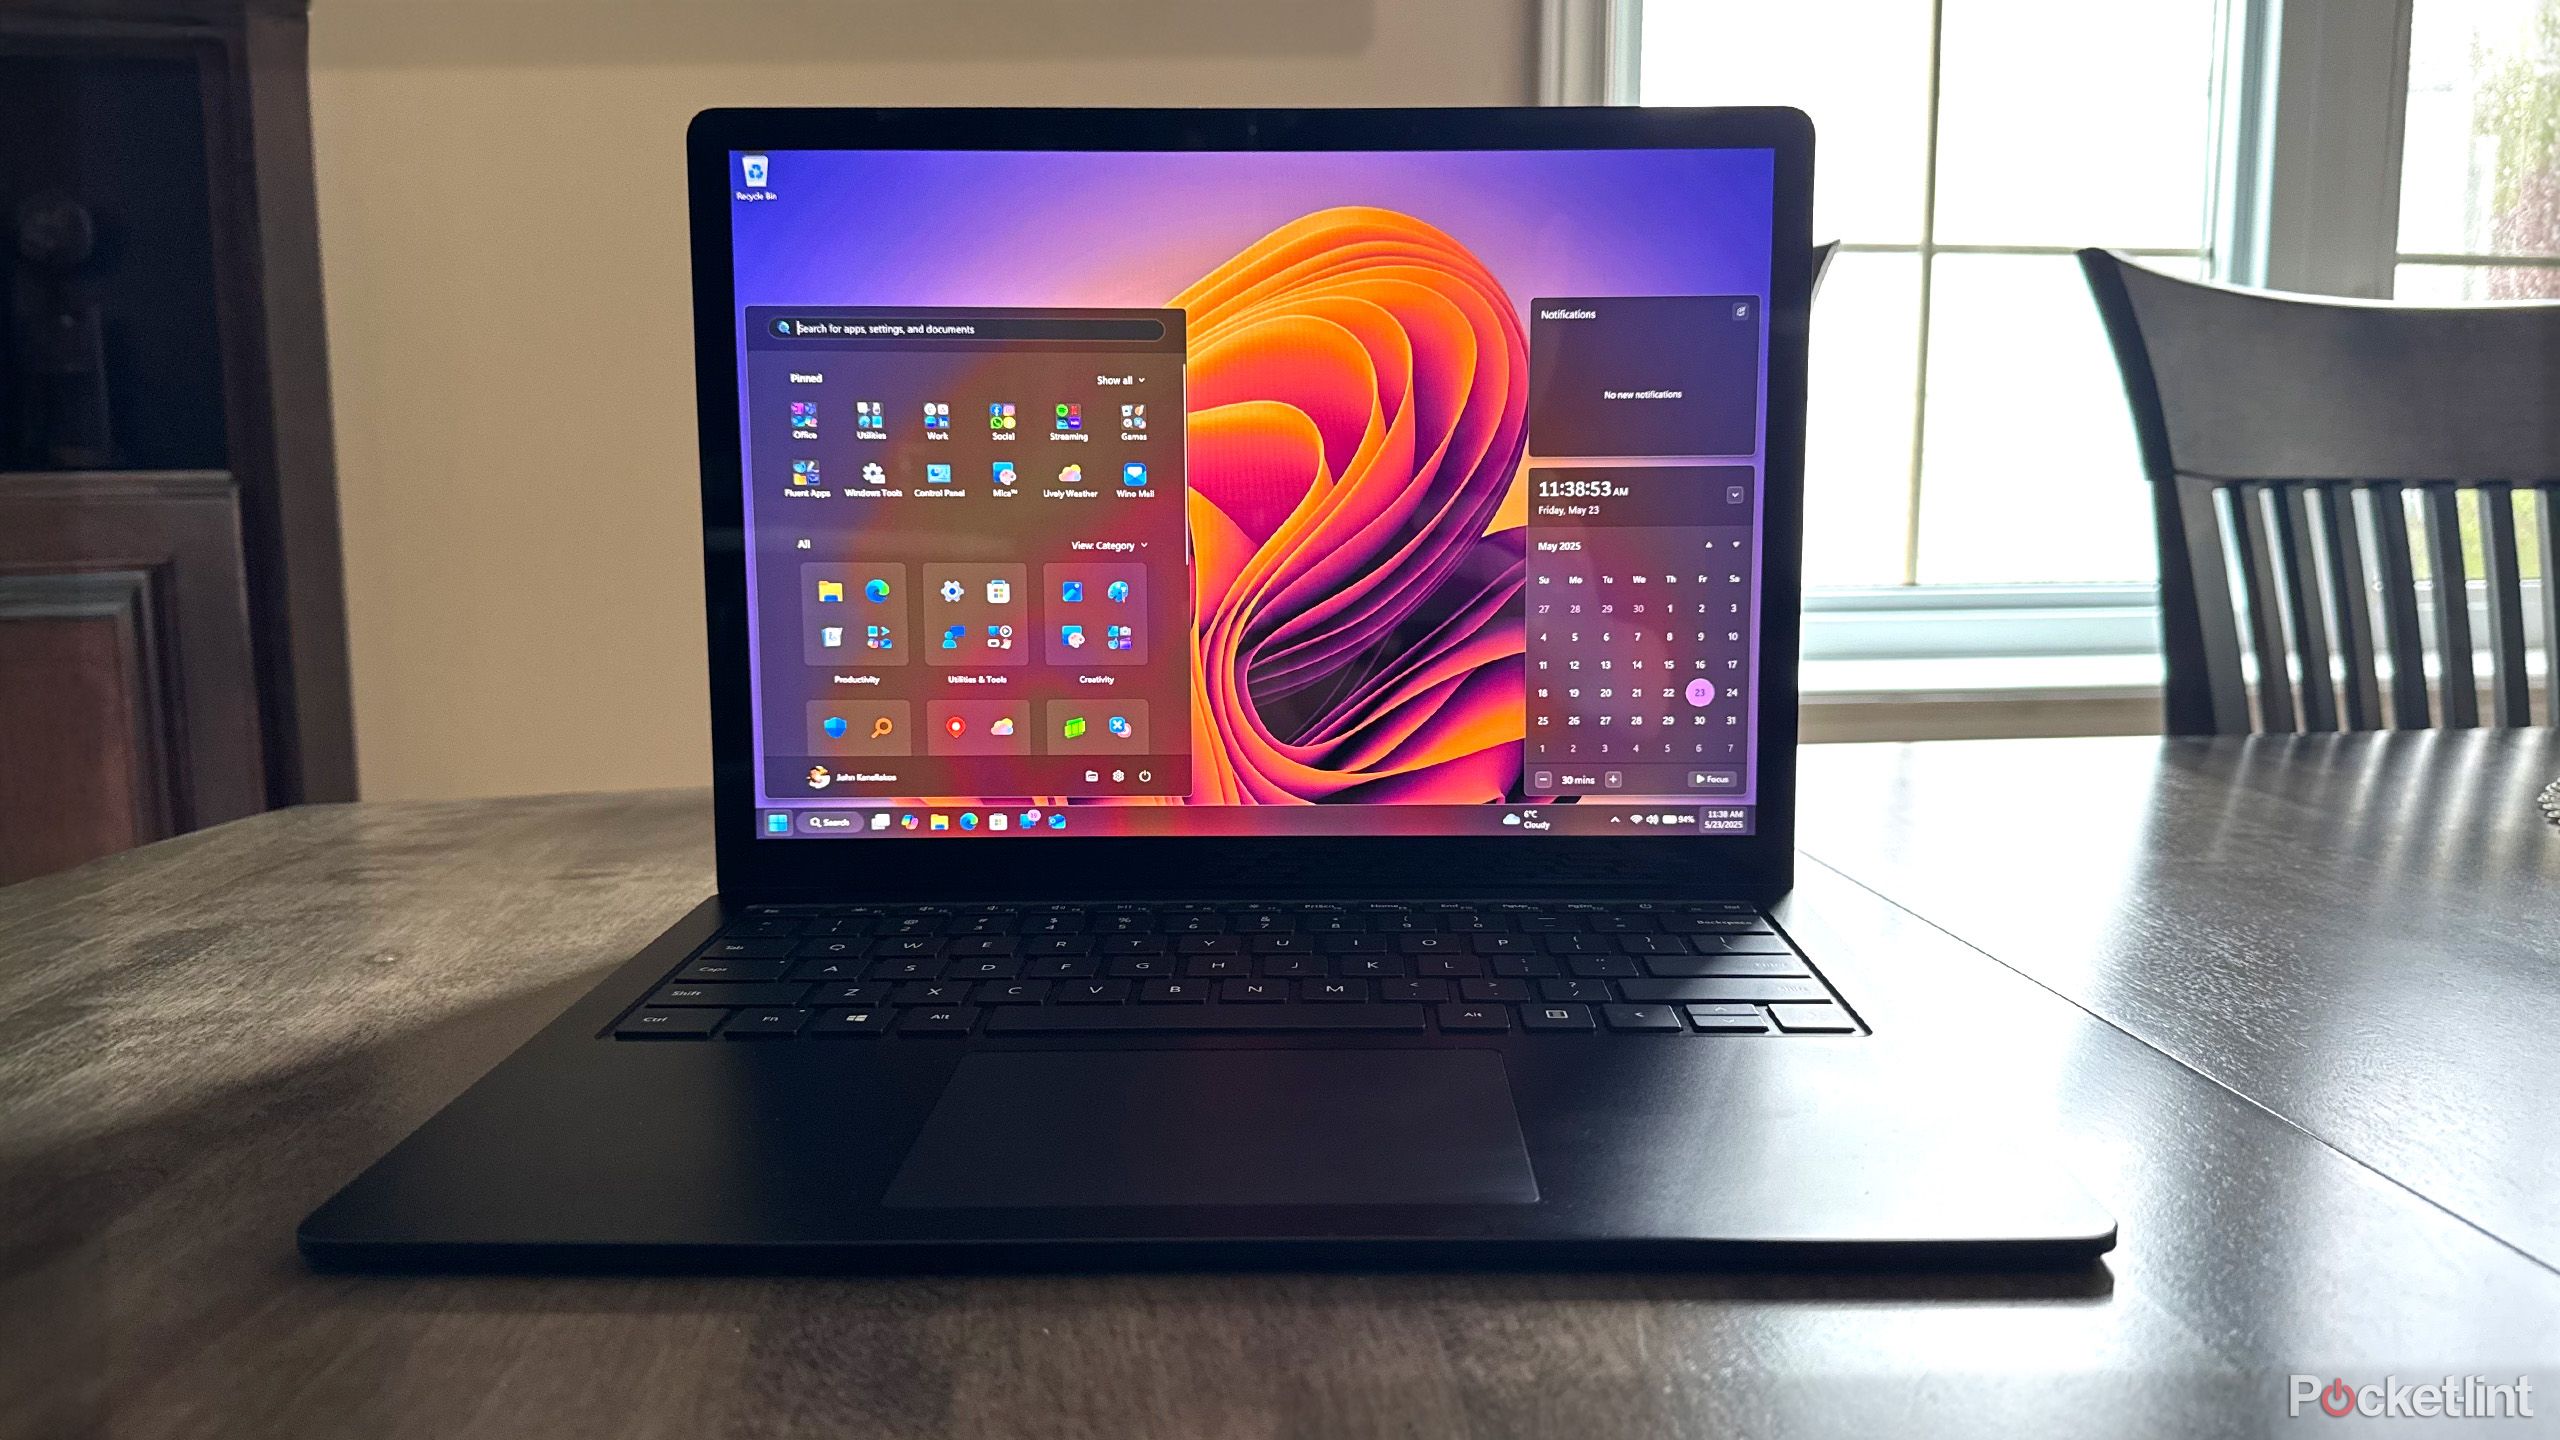
5 upcoming Windows 11 additions that I can’t wait for
Windows 11 remains a work in progress for Microsoft – here are 5 PC features the company is working on that have me eager to tap on Windows Update.
2
Utilize the Microsoft Store
Third-party update services can take a toll on performance
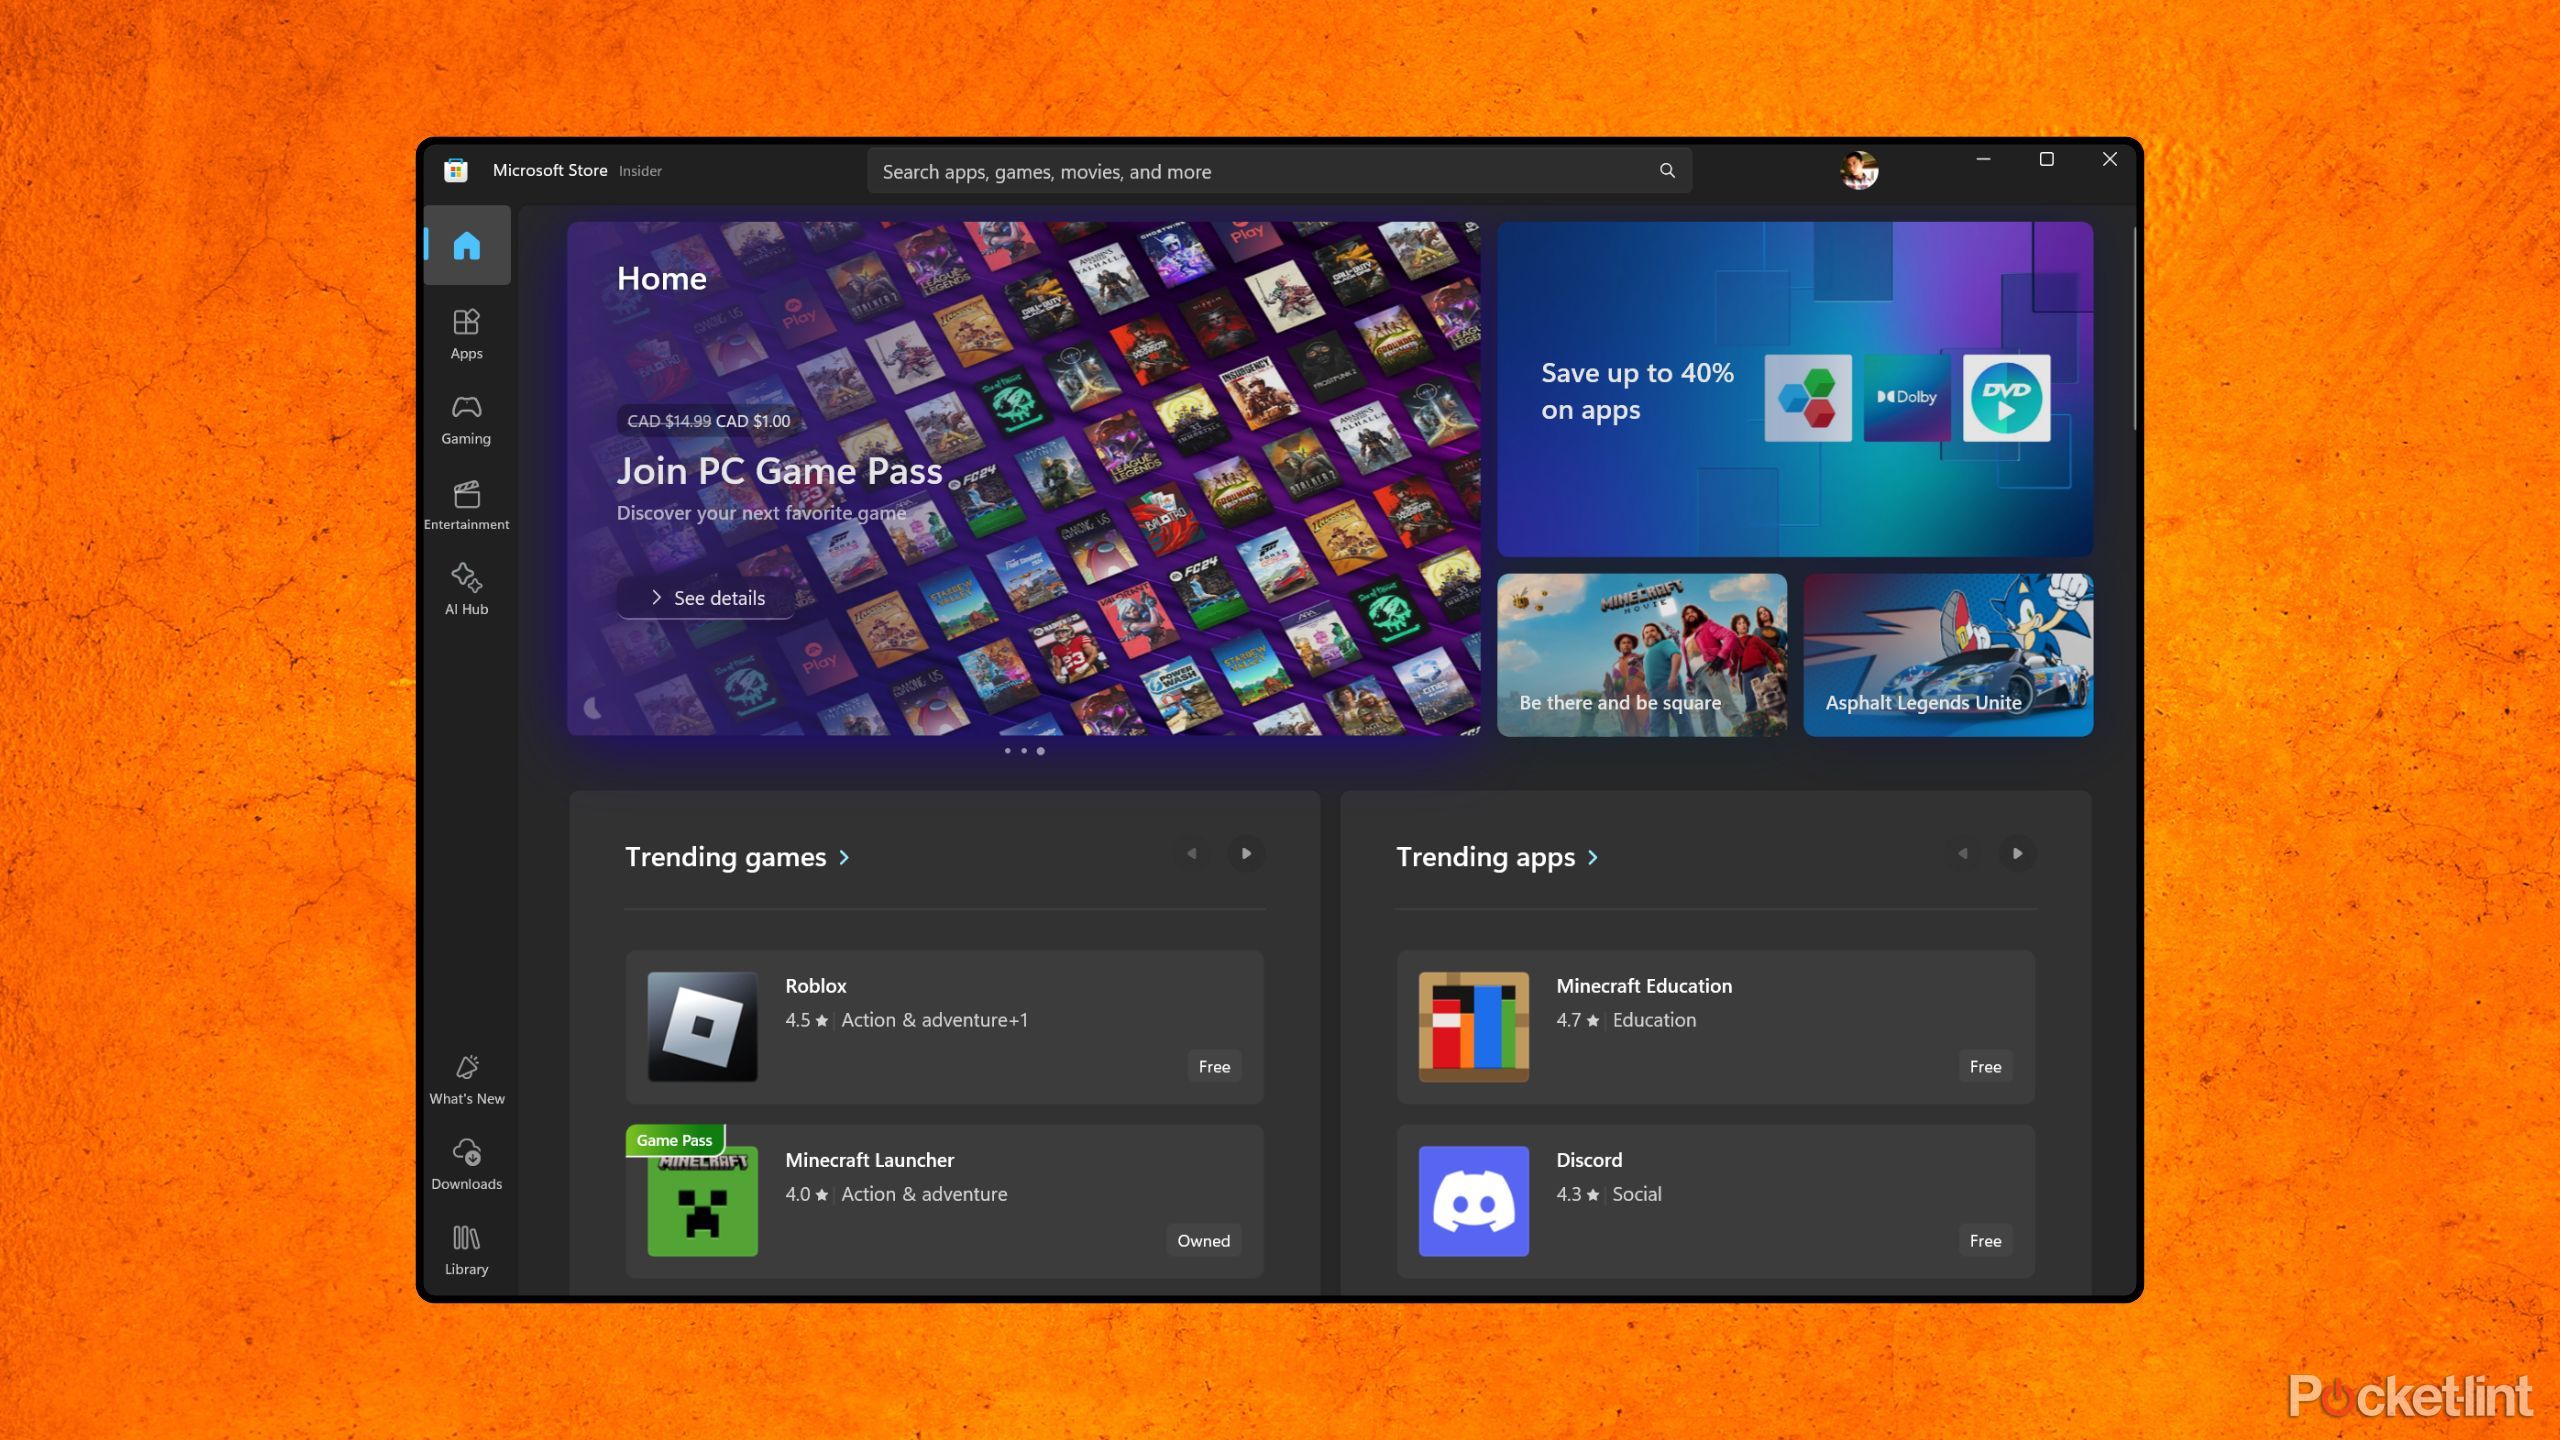
Despite having something of an unfavorable reputation, the Microsoft Store in its Windows 11 incarnation is rather excellent. These days, it hosts many popular and high-profile apps, and its interface, discoverability, and software management have come a long way since the days of Windows 8. One of the best parts about using the Microsoft Store is that it takes care of app updates automatically, in a single, streamlined location.
For the most part, apps downloaded from outside the Microsoft Store (i.e. sideloading executables from the internet) don’t tap into this seamless update system, and therefore come with their own proprietary app updaters. In a vacuum, this isn’t a problem, but having multiple bespoke app updating services running in the background can put unnecessary strain on your system’s performance.
Related
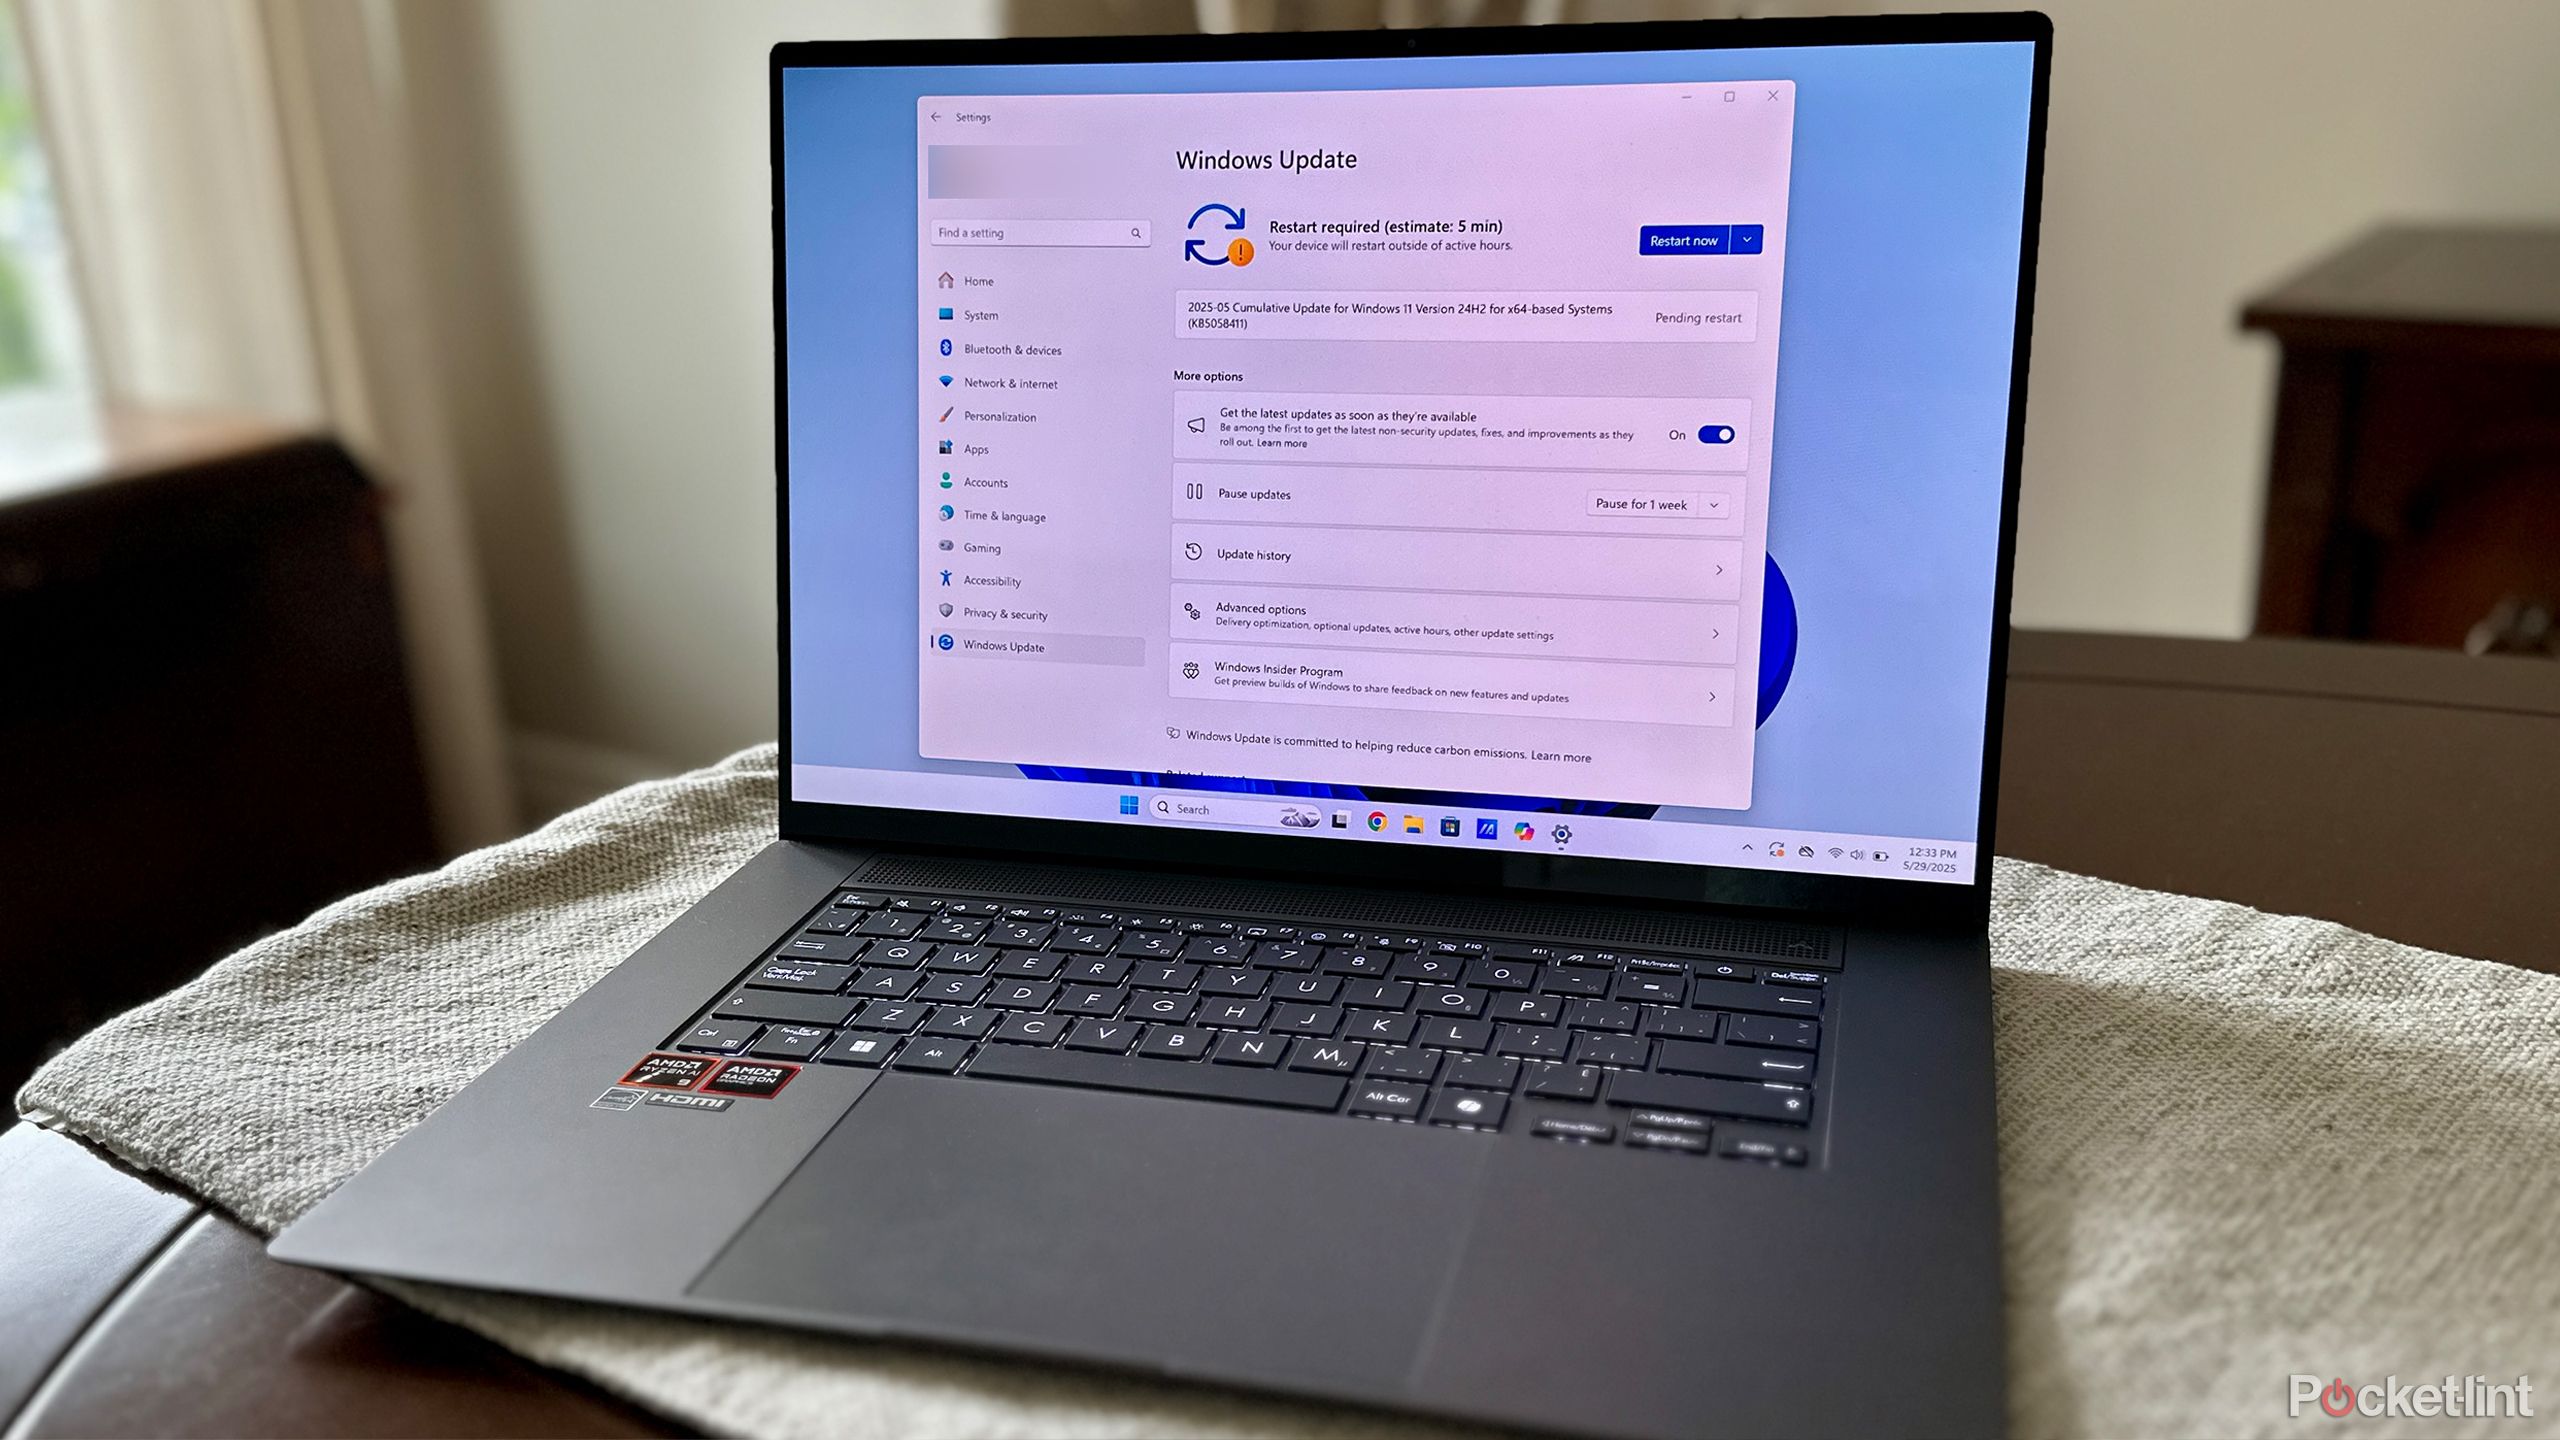
I’m all for Microsoft’s ambitious plan to expand Windows 11 updates
Microsoft wants developers to start updating their apps through Windows Update.
3
Clean up junk files and clutter
Sweep away old files to give your PC some breathing room
As you use your Windows computer, the system will naturally accumulate junk files, cache entries, and other general-purpose clutter. These small files tend to add up over time, and they can end up consuming a significant chunk of available storage space. When a PC is backed into a corner with very little storage to work with, performance is negatively impacted as the PC attempts to work within its more stressful confines.
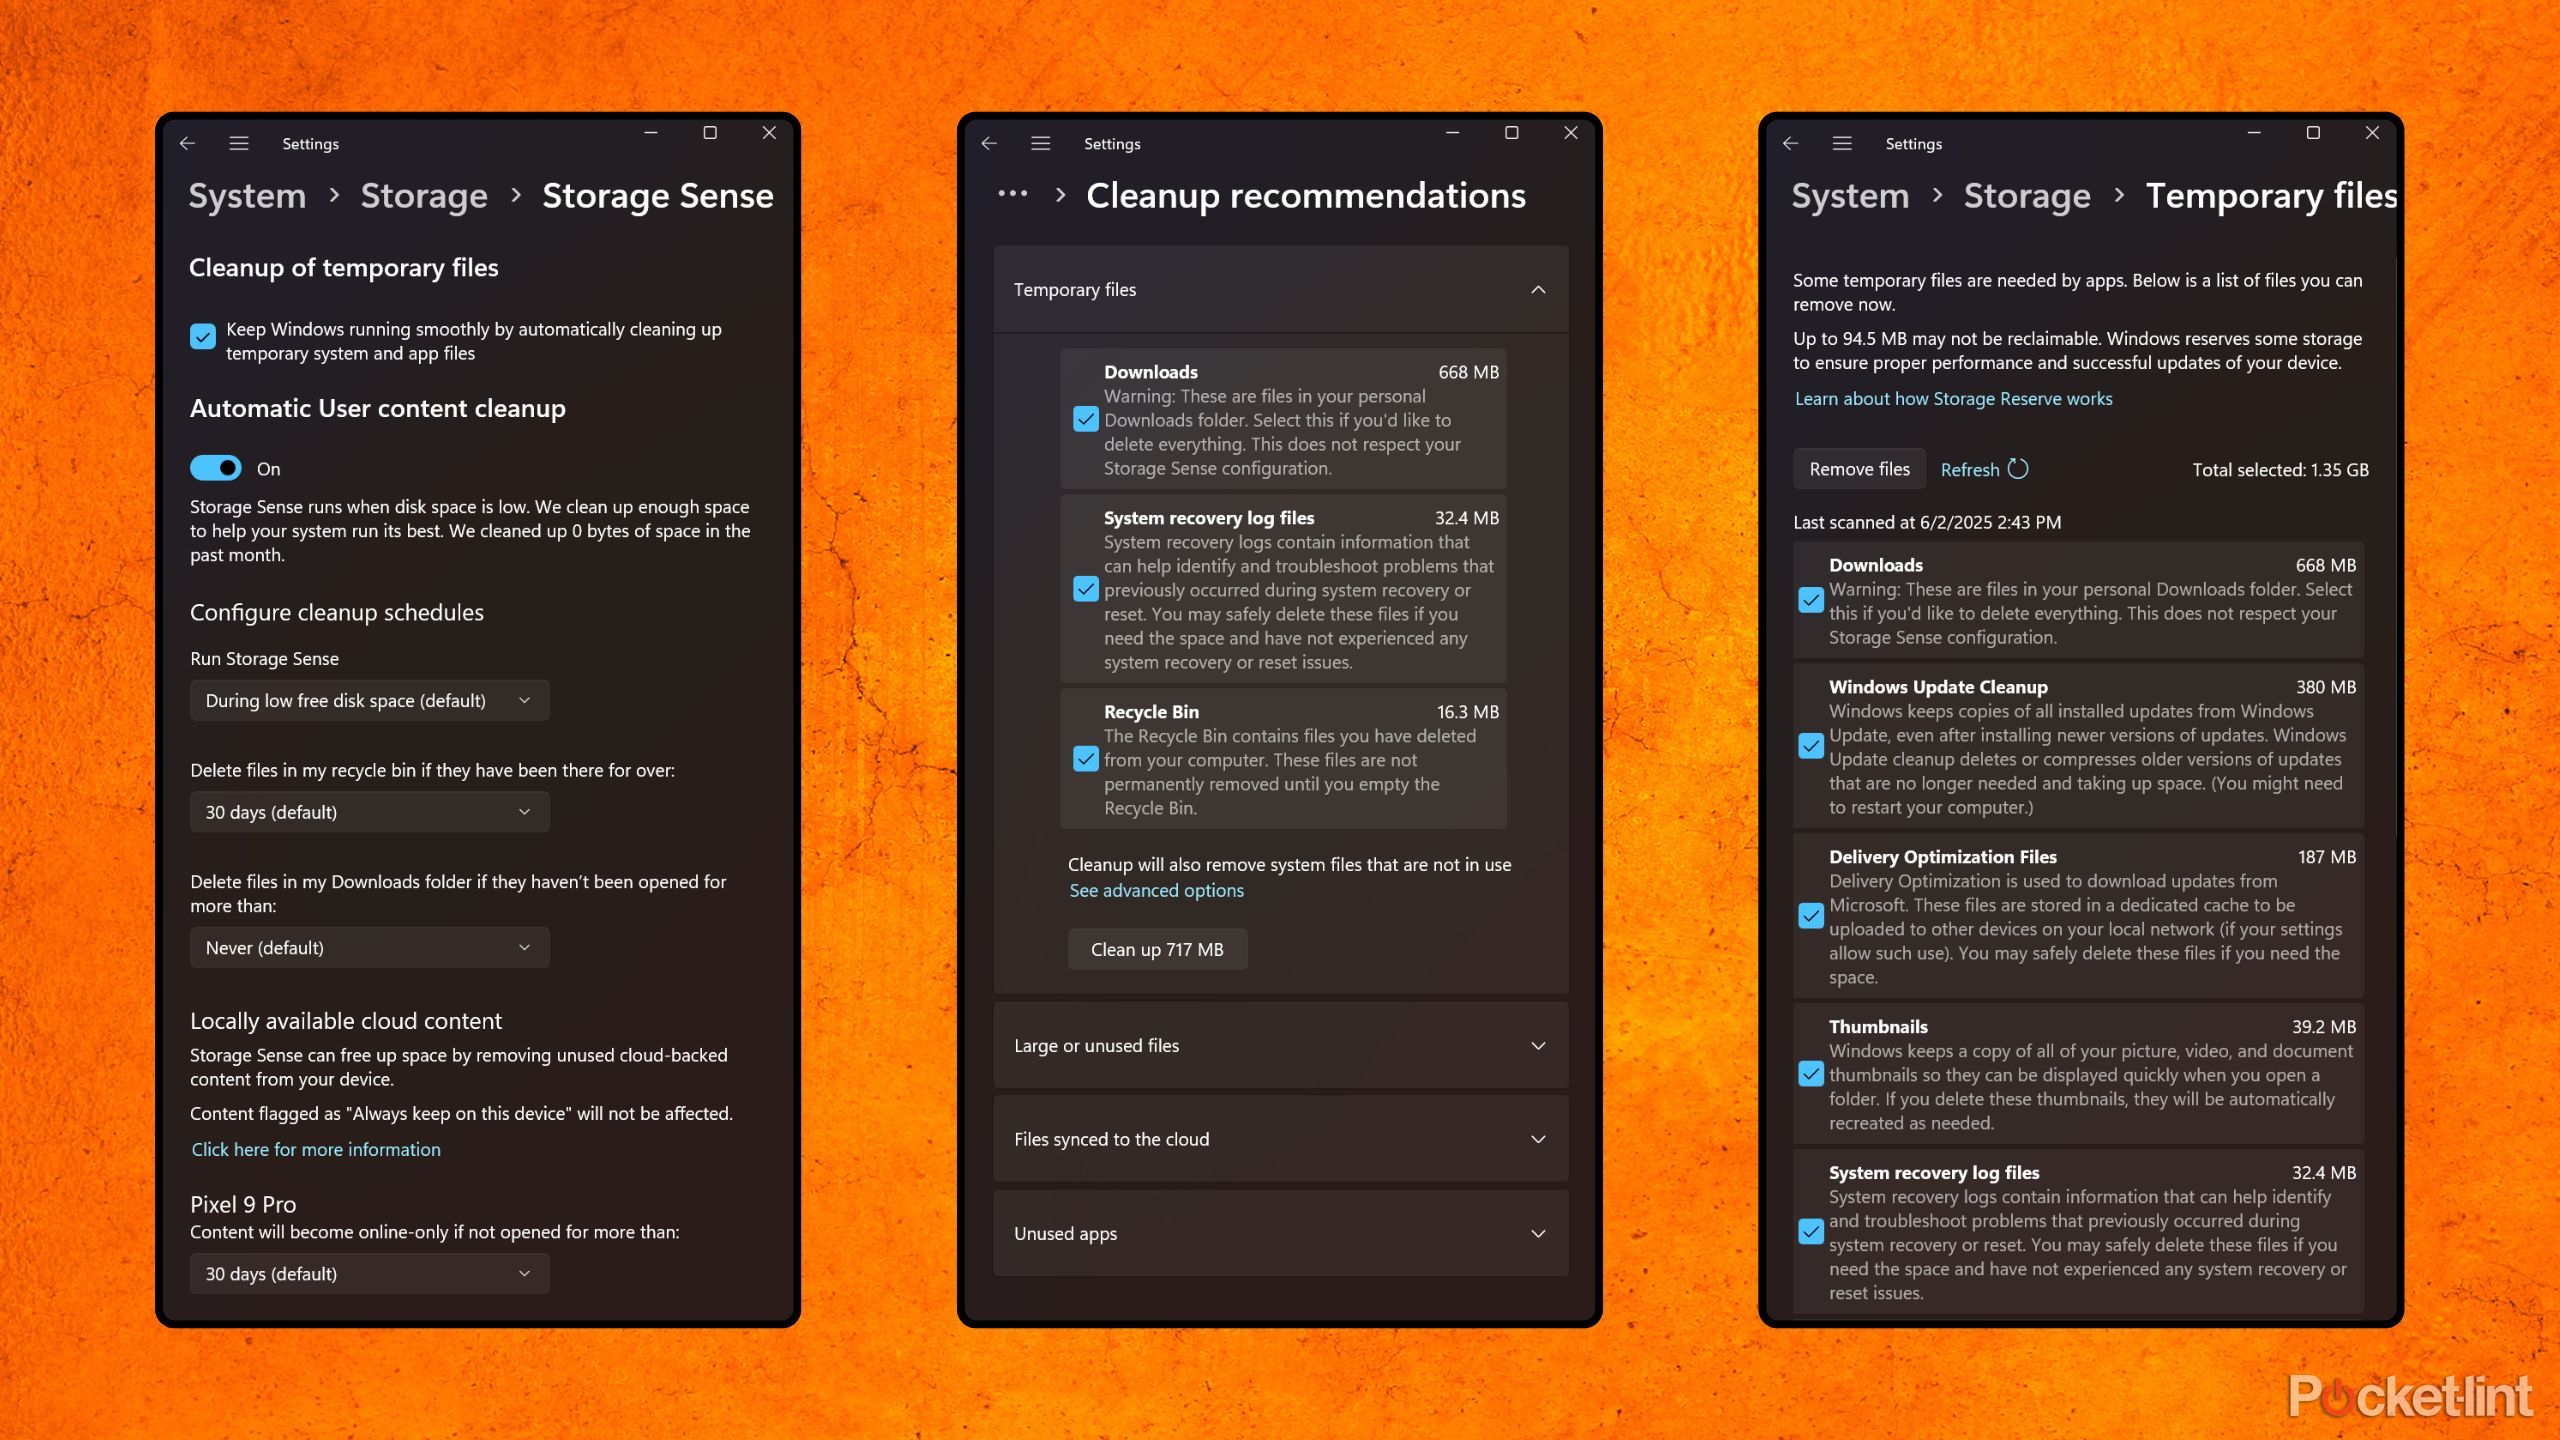
In the past, third-party cleanup utilities like CCleaner were popular tools for sweeping away OS crud, but these days they aren’t as necessary. In Windows 11, Microsoft offers several useful built-in utilities for managing junk files, which can be done by navigating to Settings > Storage and sifting through options like Storage Sense, Cleanup recommendations, and Temporary files. From here, you can toggle on the option for the system to clean itself up in the background, with manual deletion choices also available to work with.
Related
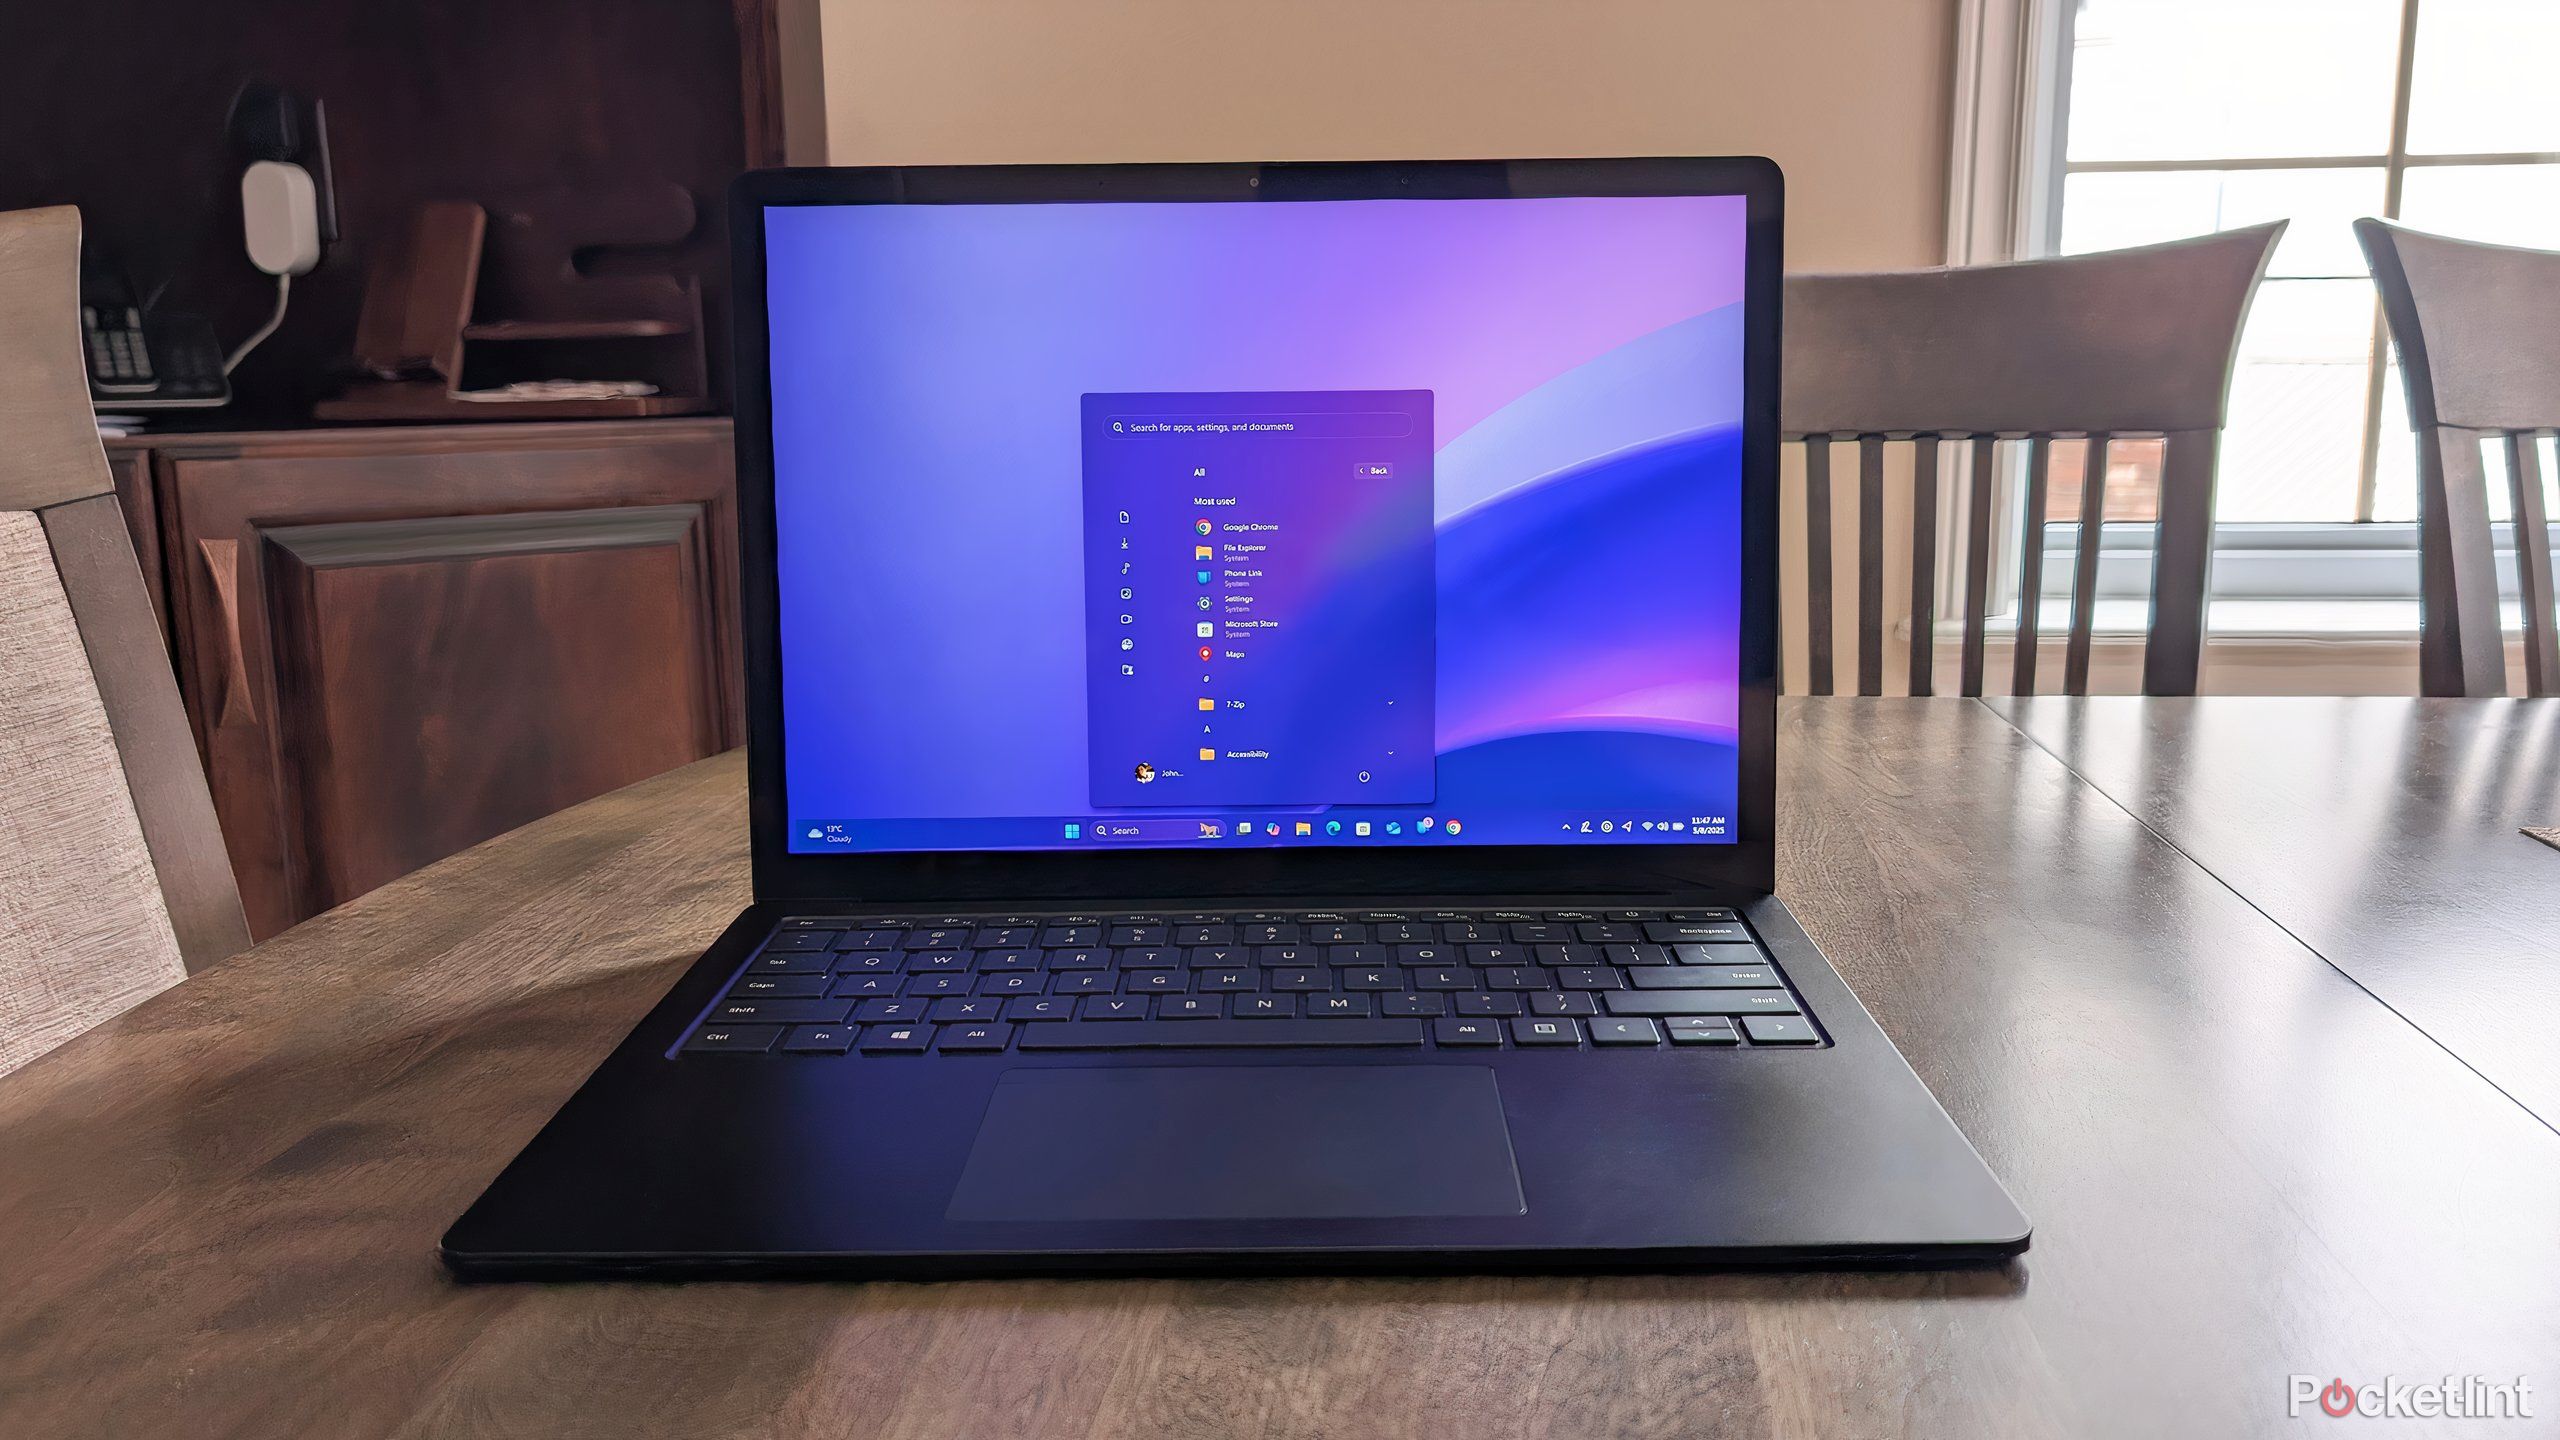
I powered-up my Windows 11 experience with Windows 25, and I don’t think I can go back
If you’re tired of Microsoft’s default Windows 11 interface, then Windows 25 has you covered — here’s what this community-created mod can deliver.
4
Go easy on the customizations
Customization is wonderful, but it comes at a cost
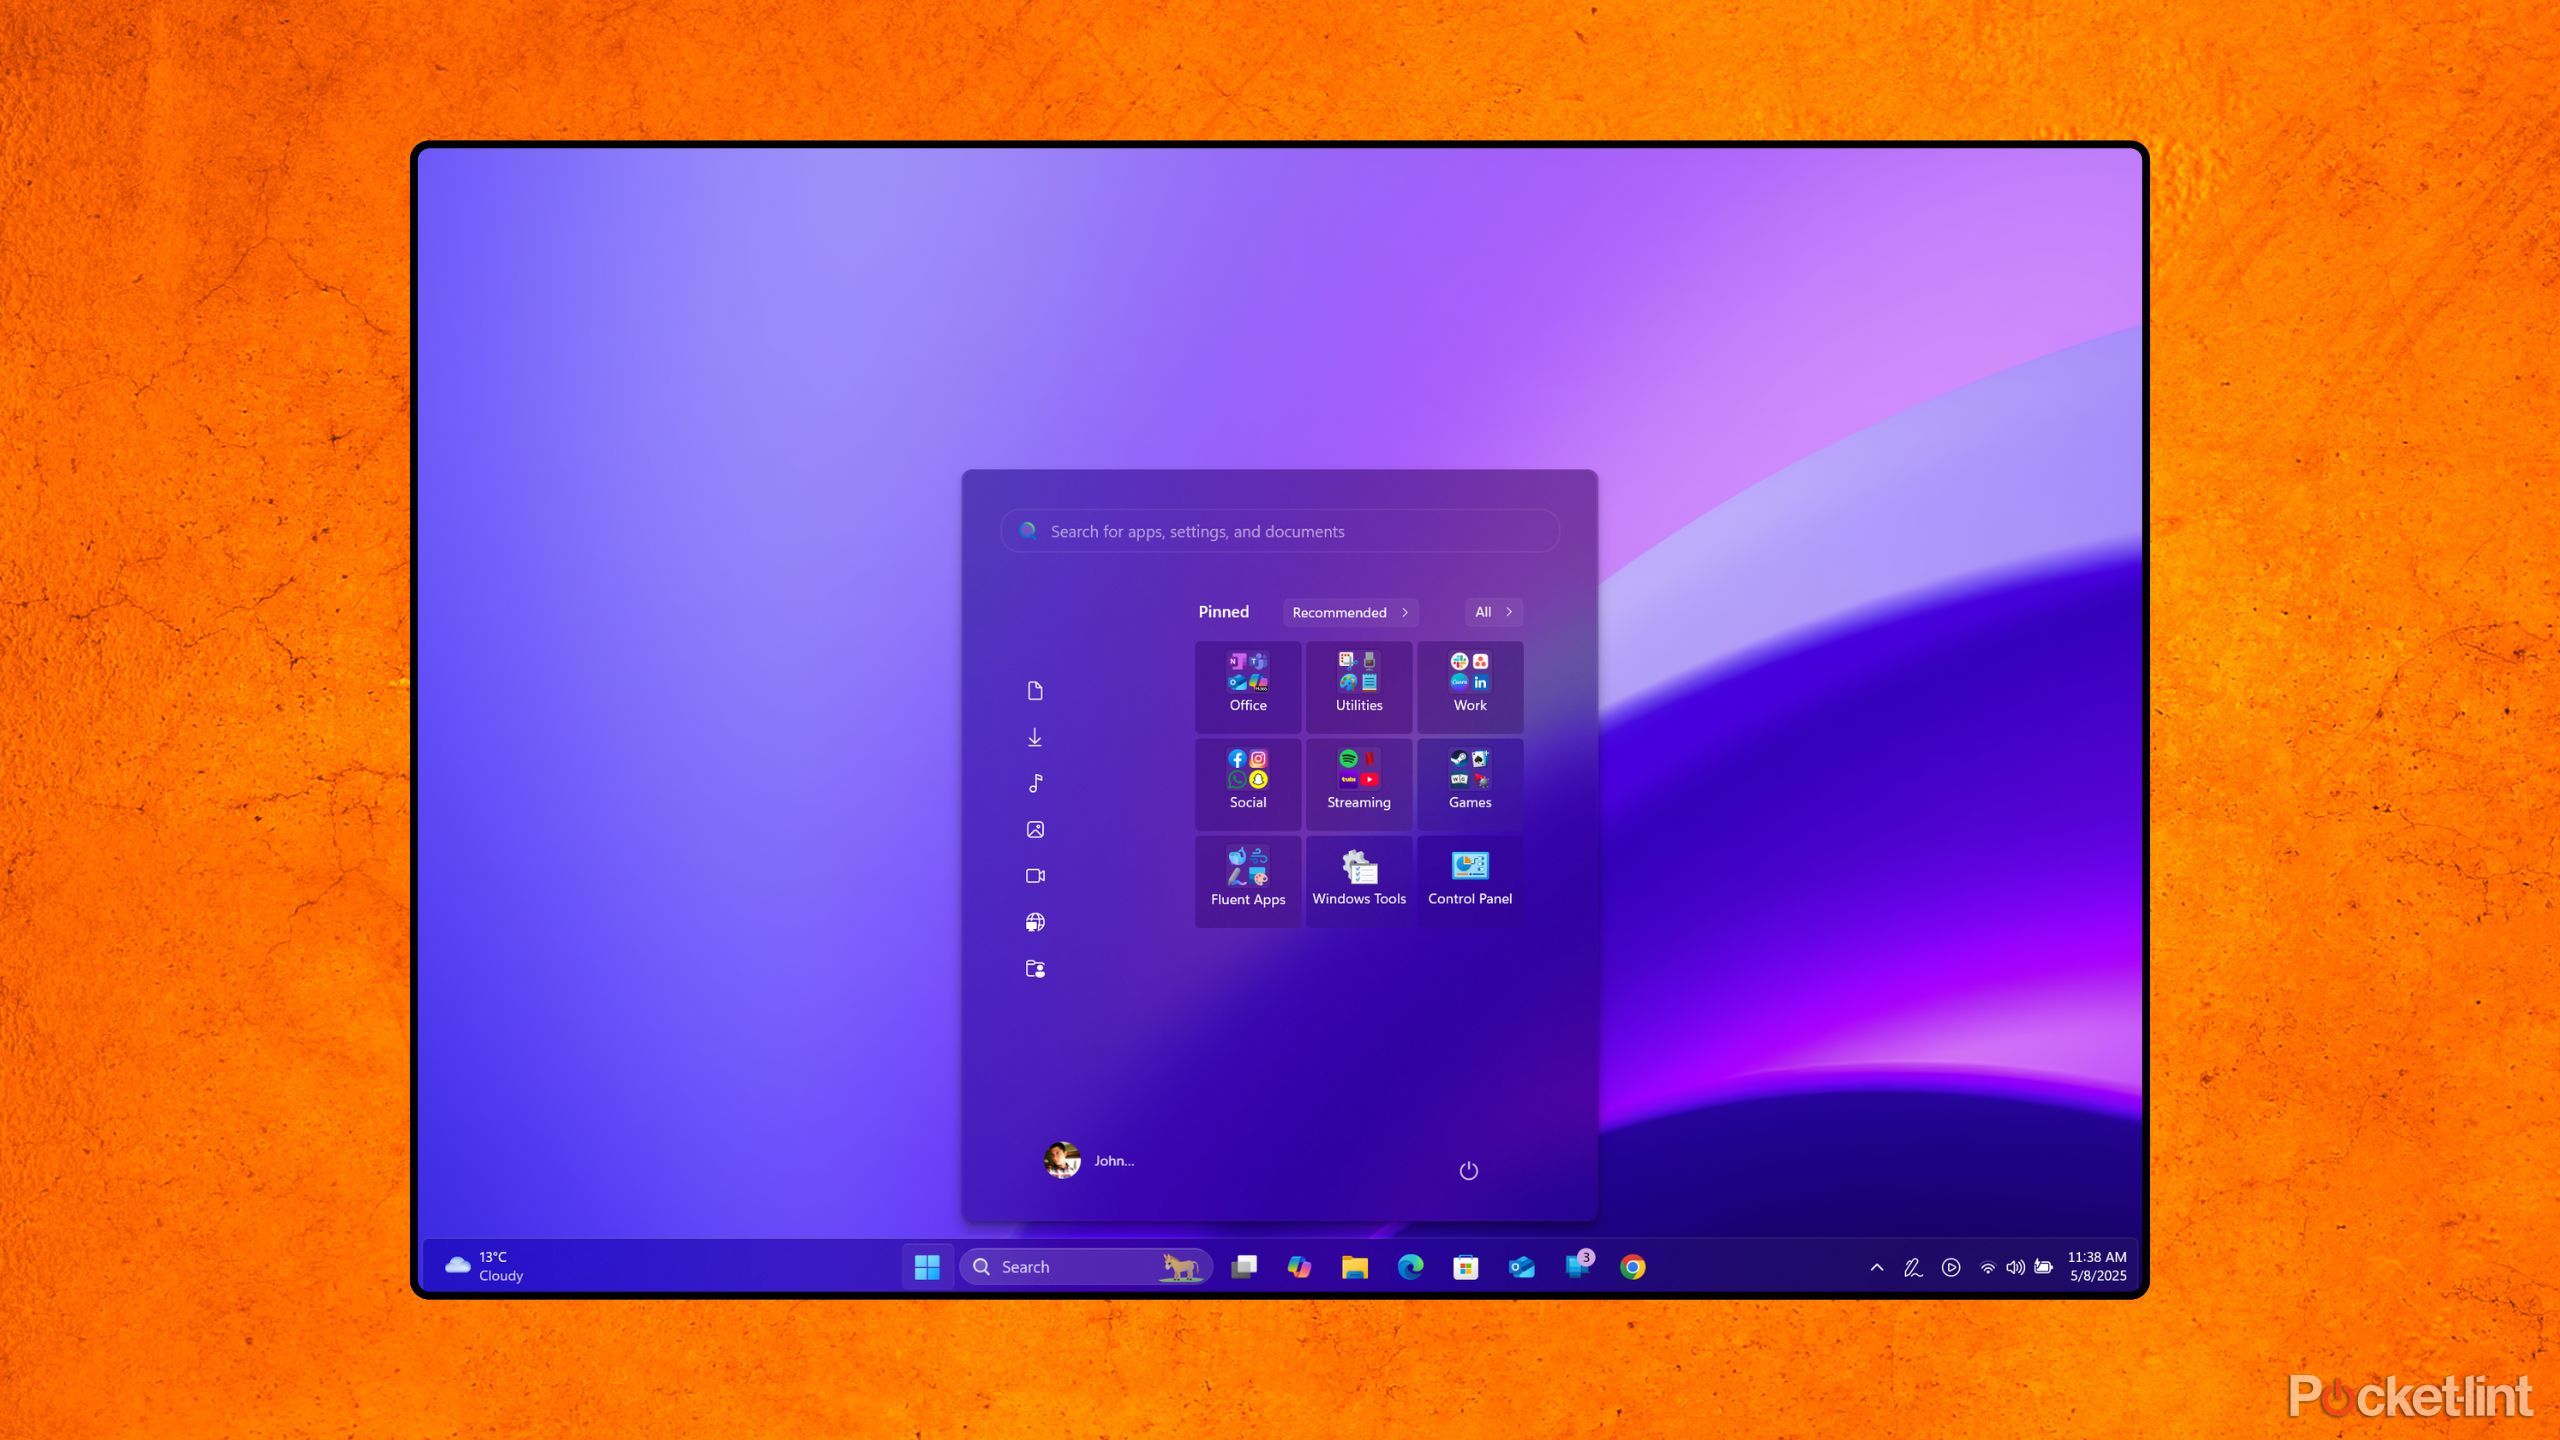
One of the best parts about the Windows operating system is that, despite not being open-source, it allows for extensive user interface customizations. For example, I recently went through the process of setting up the third-party Windows 25 mod on my own PC, which dramatically overhauls several aspects of the sytem and its desktop aesthetic.
To perform a factory reset on Windows 11, navigate to Settings > System > Recovery > Reset this PC and follow the on-screen steps. Be sure to back up any important files and documents prior to initiating the reset process.
There are countless tweaks and customization tools available for WIndows, and they’re a lot of fun to play around with. That being said, every time you make a mod-style adjustment to Windows, it has the potential to increase code complexity, intertwine software dependencies, and fiddle with lower-level files in ways not intended by Microsoft. As such, I’d recommend performing a factory reset in between major modification endeavors, to ensure a blank slate and to avoid performance hiccups. I’d also advise against stacking too many mods at any one time for this same reason.

Related
5 Windows 11 settings I immediately change on any new PC
I always adjust these settings on any new Windows 11 PC to enhance my experience.
5
Manage background app permissions
Don’t let apps needlessly run amok in the background
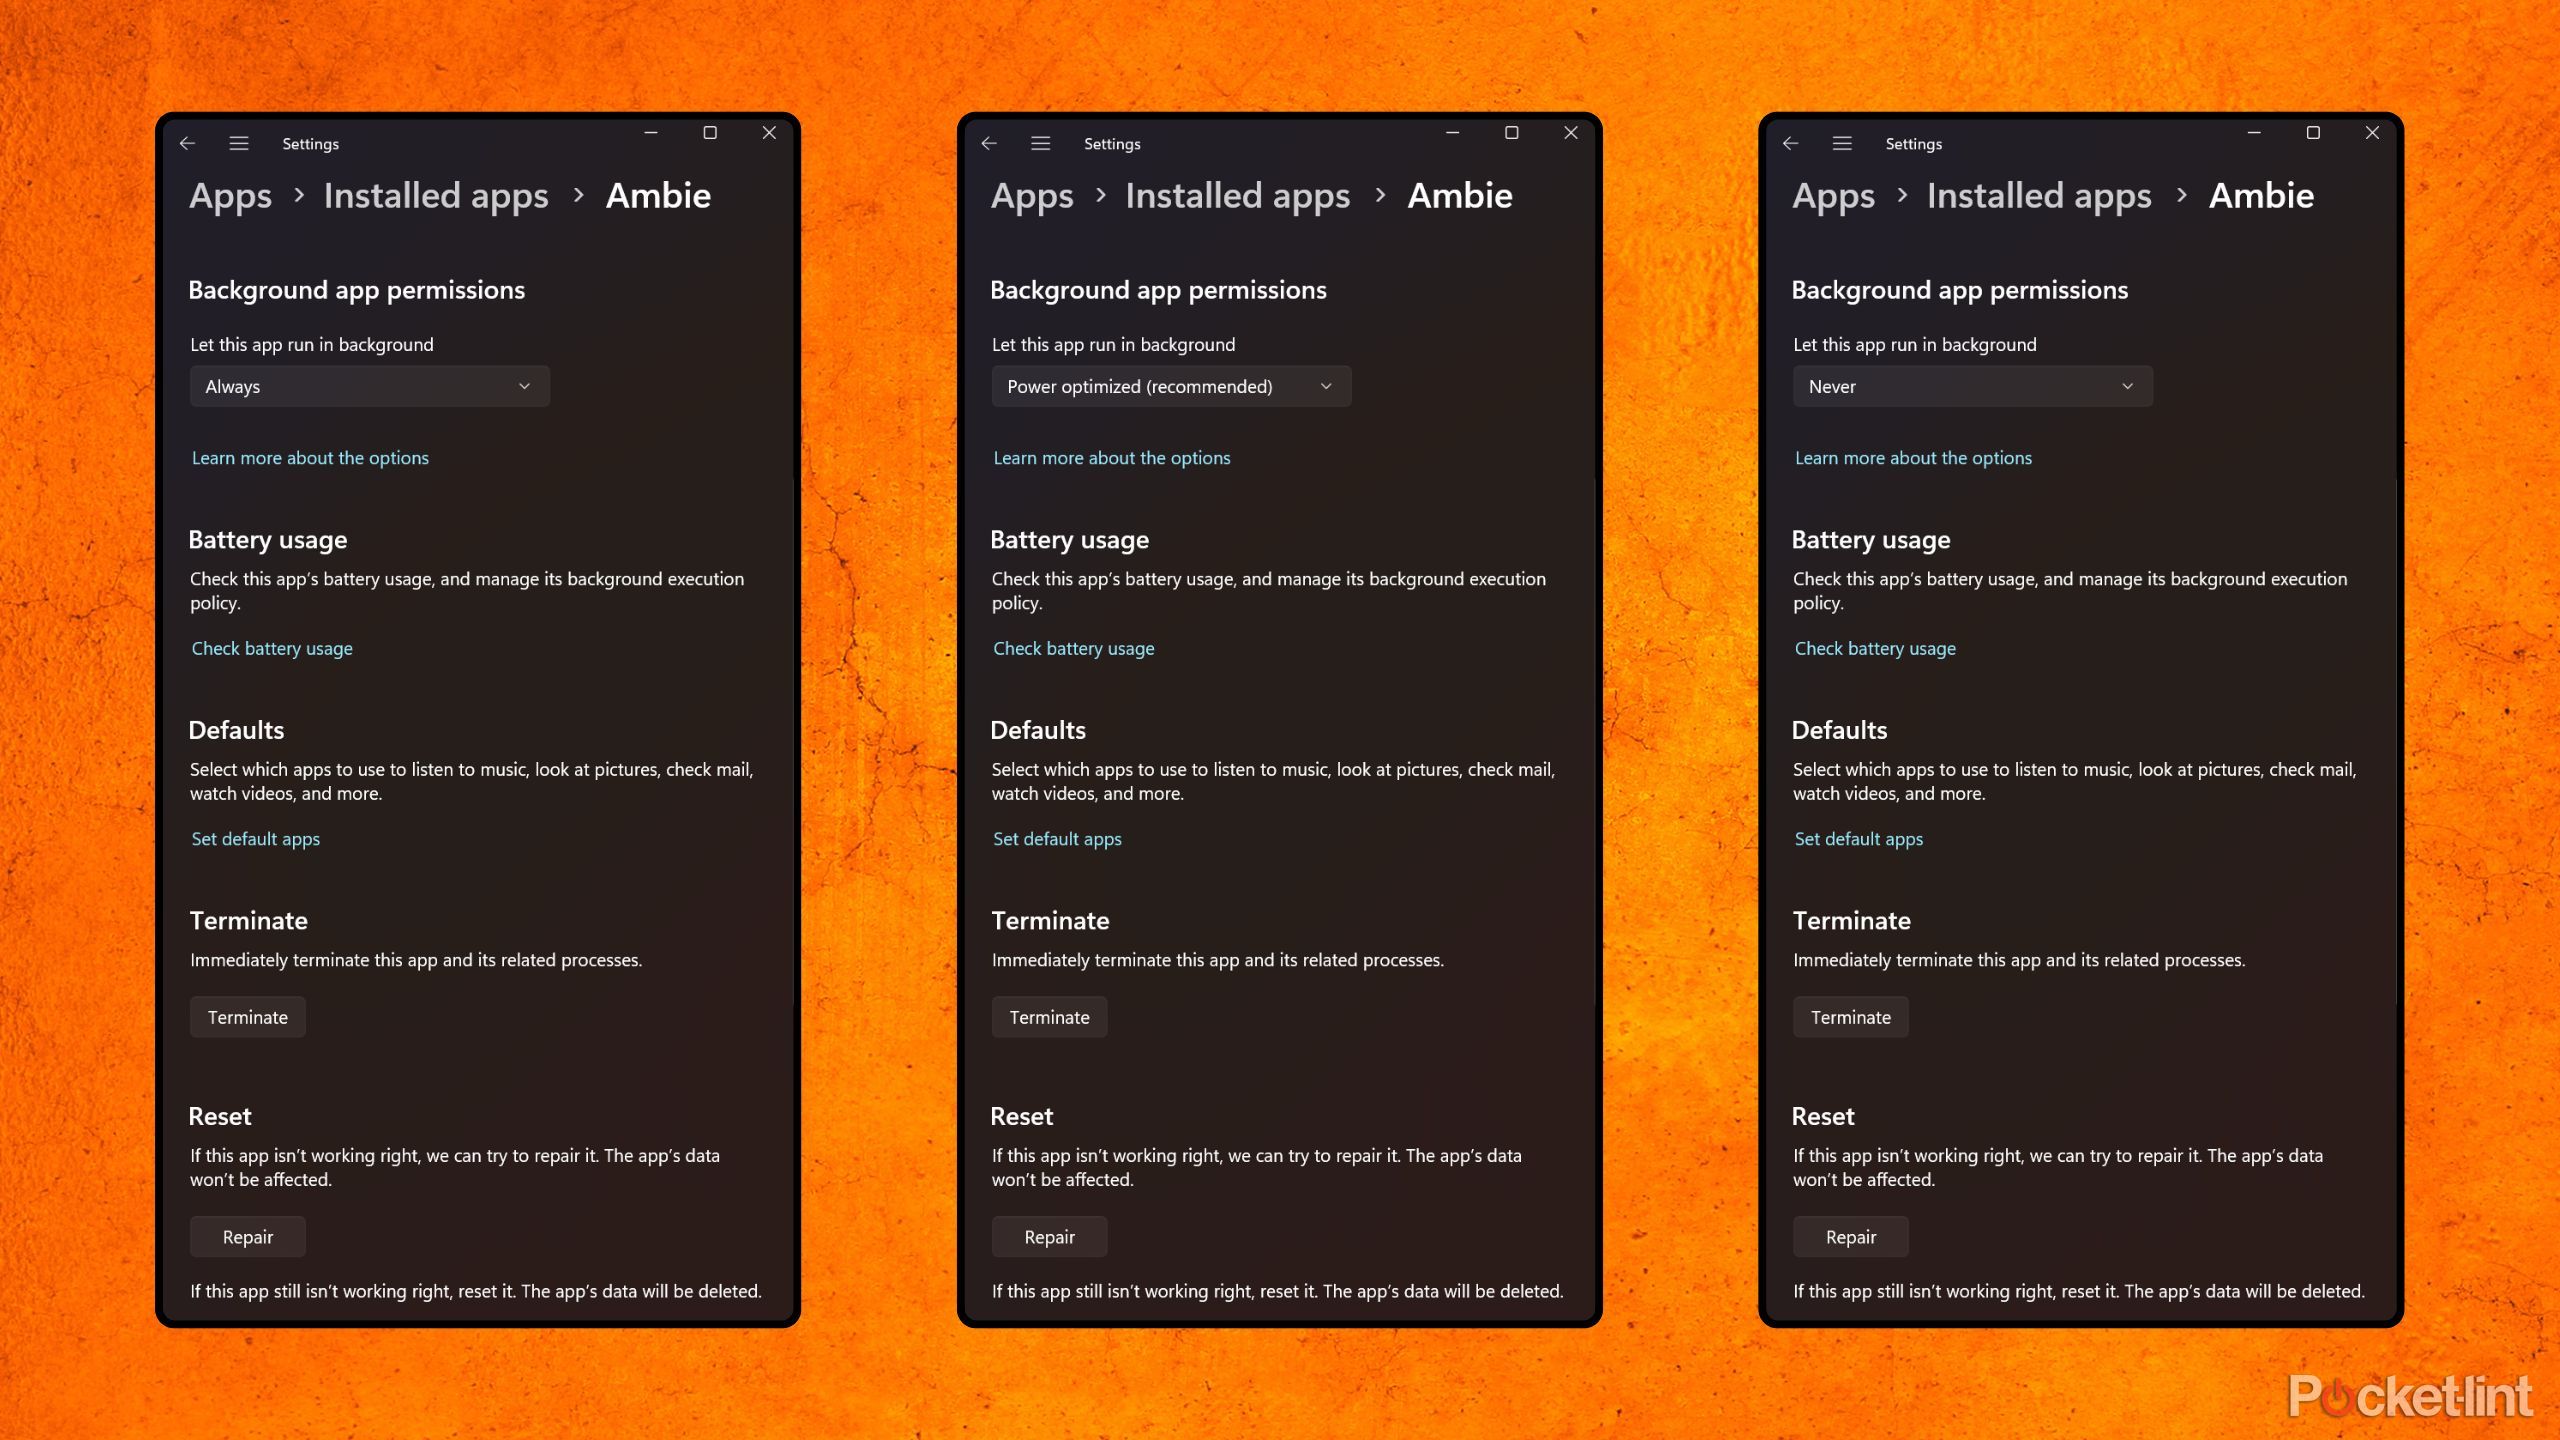
In the same vein as startup apps, it’s worth consolidating your list of apps that can freely perform background tasks on Windows. Background app permissions is a feature that allows running apps to function in the back-end after being launched, which is great for, say, receiving email push notifications in a timely manner, or for allowing Antivirus software to analyze file downloads in real time.
For many installed apps, there’s simply no need to have background app usage enabled — aside from causing battery drain, it can lead to performance issues when several running apps are doing their thing (despite having all active sessions and windows closed). To manage this setting on a per-app basis, head to Settings > Apps > Installed apps and then select an installed app from the list. Under Background app permissions, you can choose between Power optimized, Never, and Always from the dropdown menu.
Related
How I flipped my aging Windows 10 machine into cold, hard cash
Microsoft is set to end support for its Windows 10 desktop OS in October of this year, but there’s no need to throw your old PC by the wayside.


